This guide walks you through creating an automated email campaign in Affinect that sends on specific days, triggered by customer behavior, and tailored to visit type and timing.
Affinect
Access Campaigns
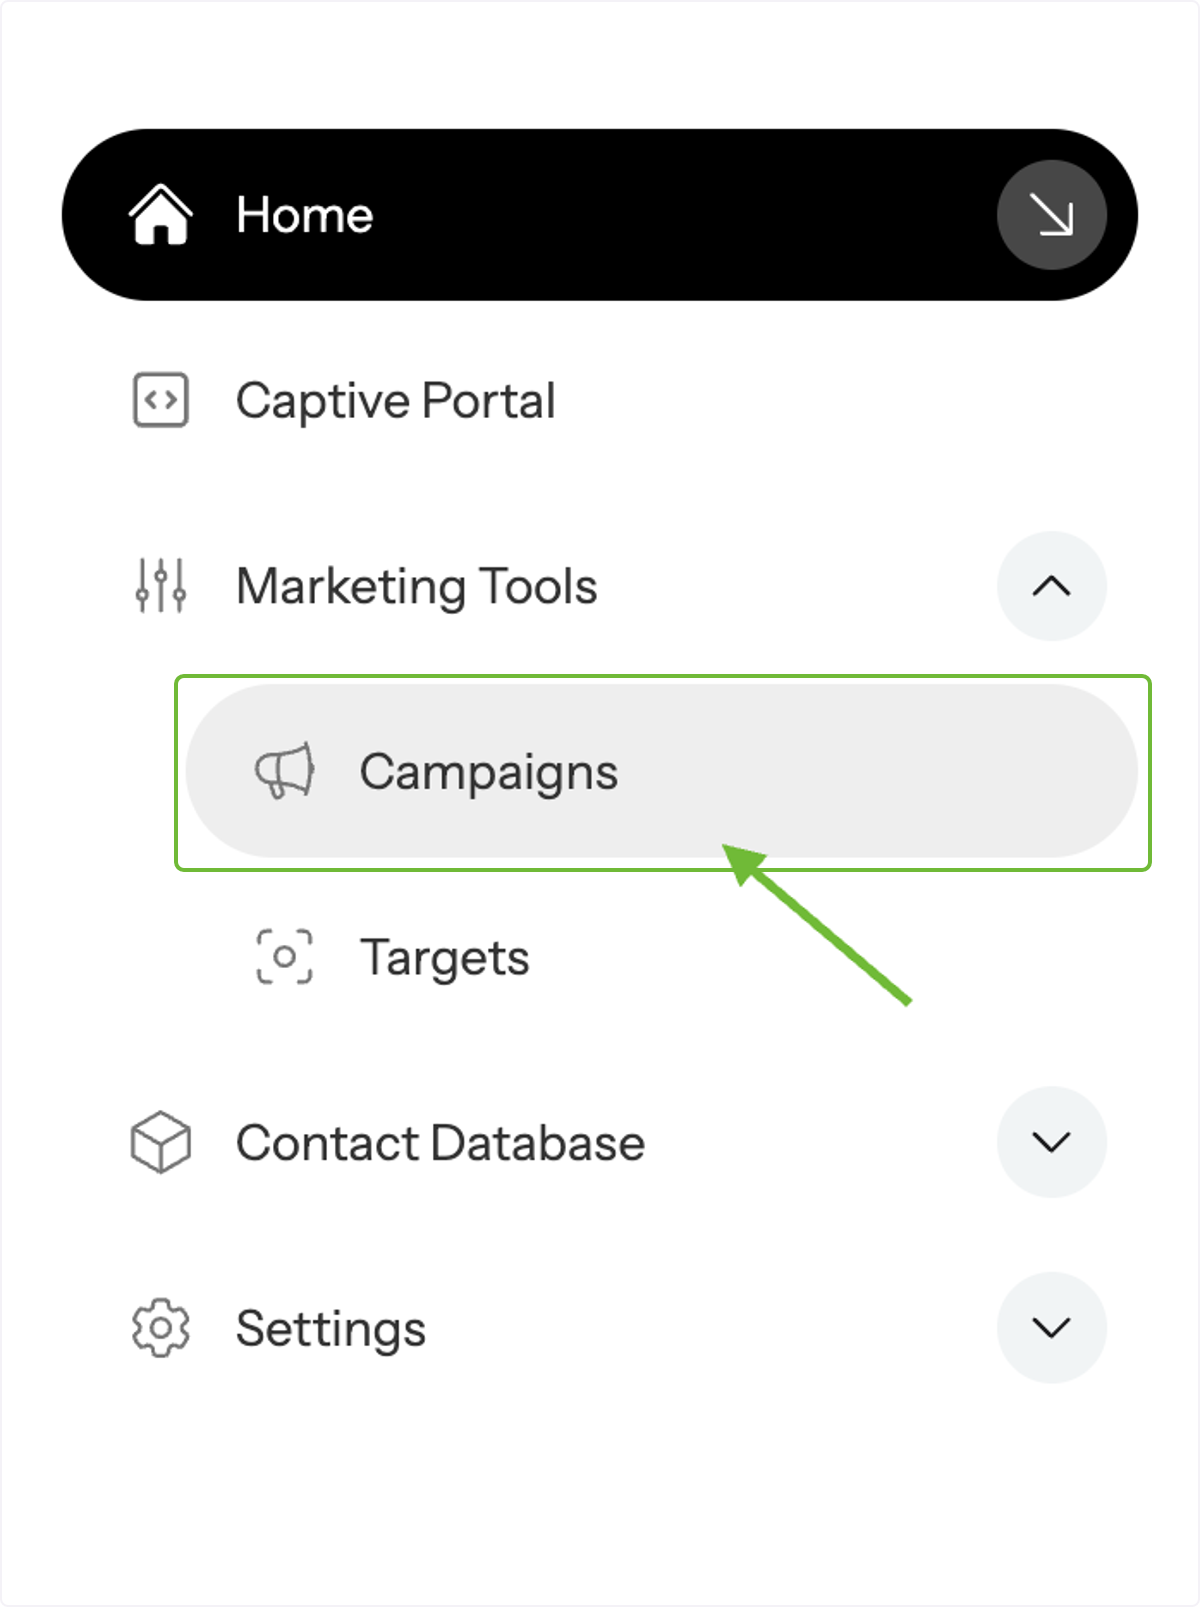
From the Marketing Tools dropdown menu, click Campaigns on the right.
View Campaign List
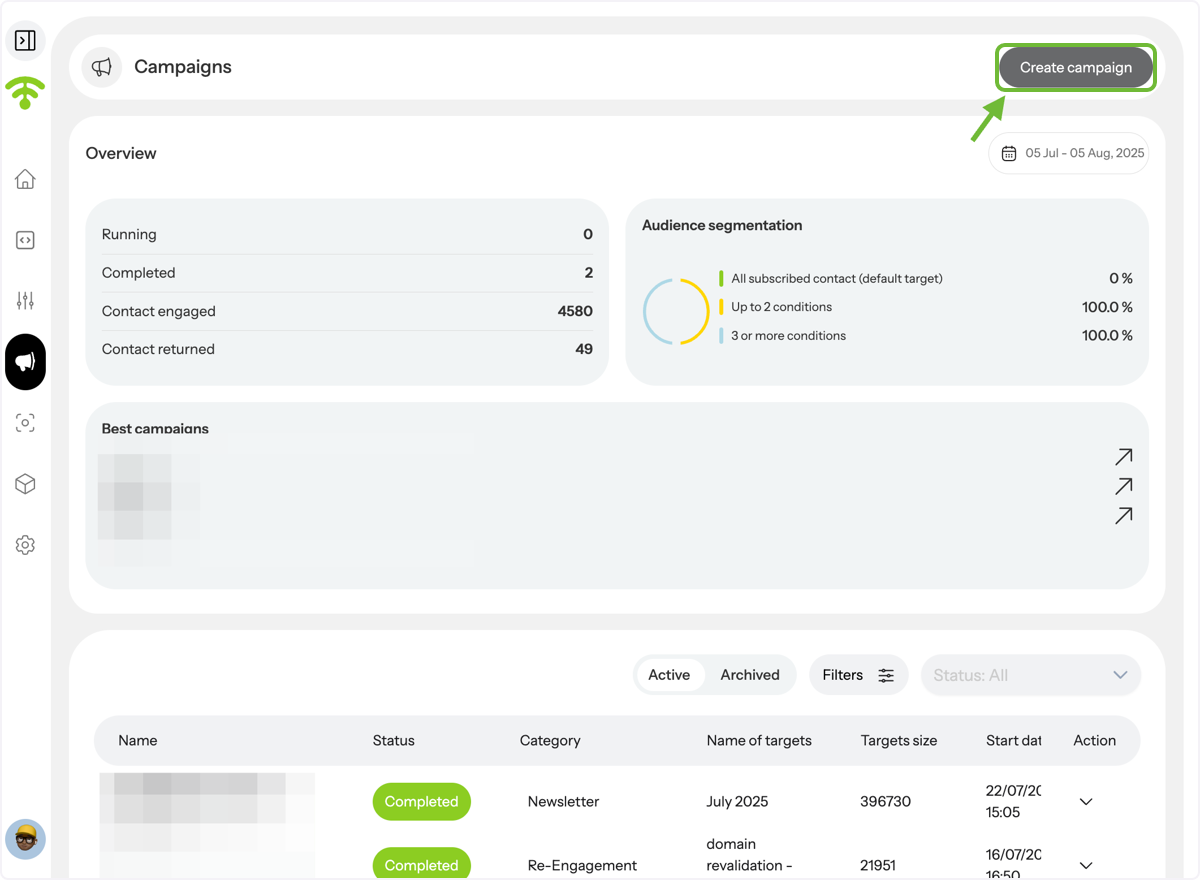
A preview of your existing campaigns will appear. Click Create Campaign.
Start a New Campaign
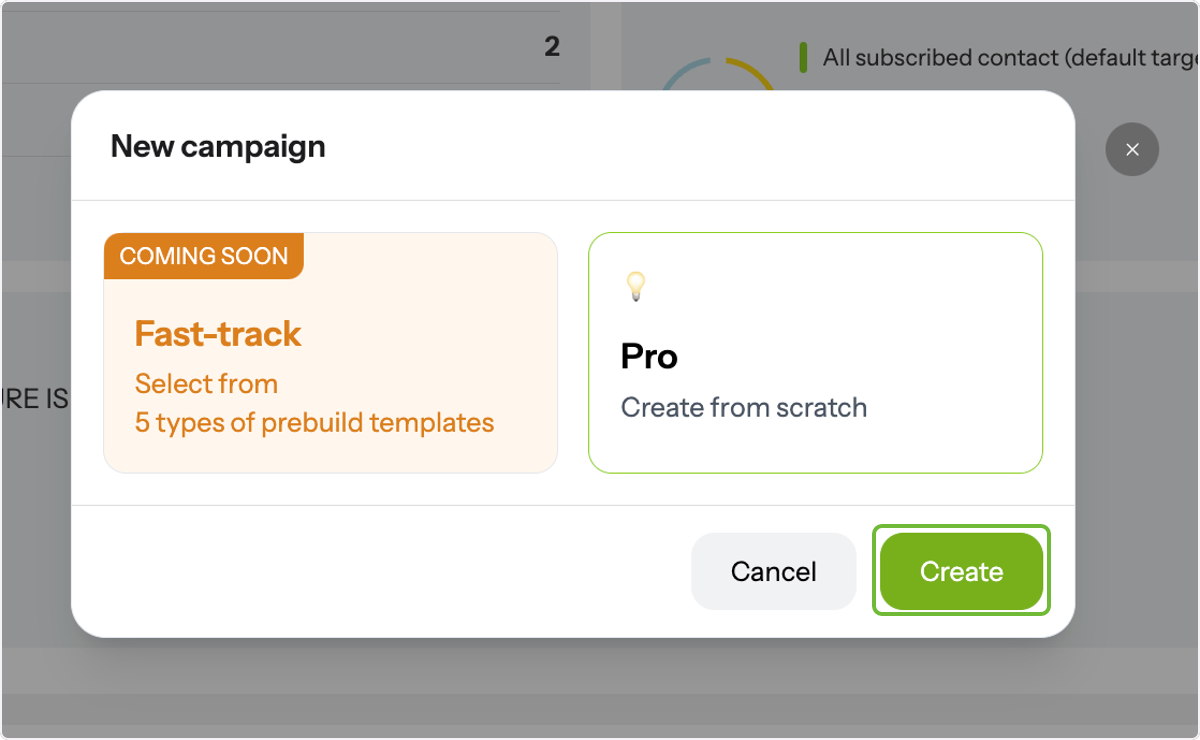
In the pop-up box, click Create.
Choose Category & Audience
Select your campaign category, then proceed to the Audience section.
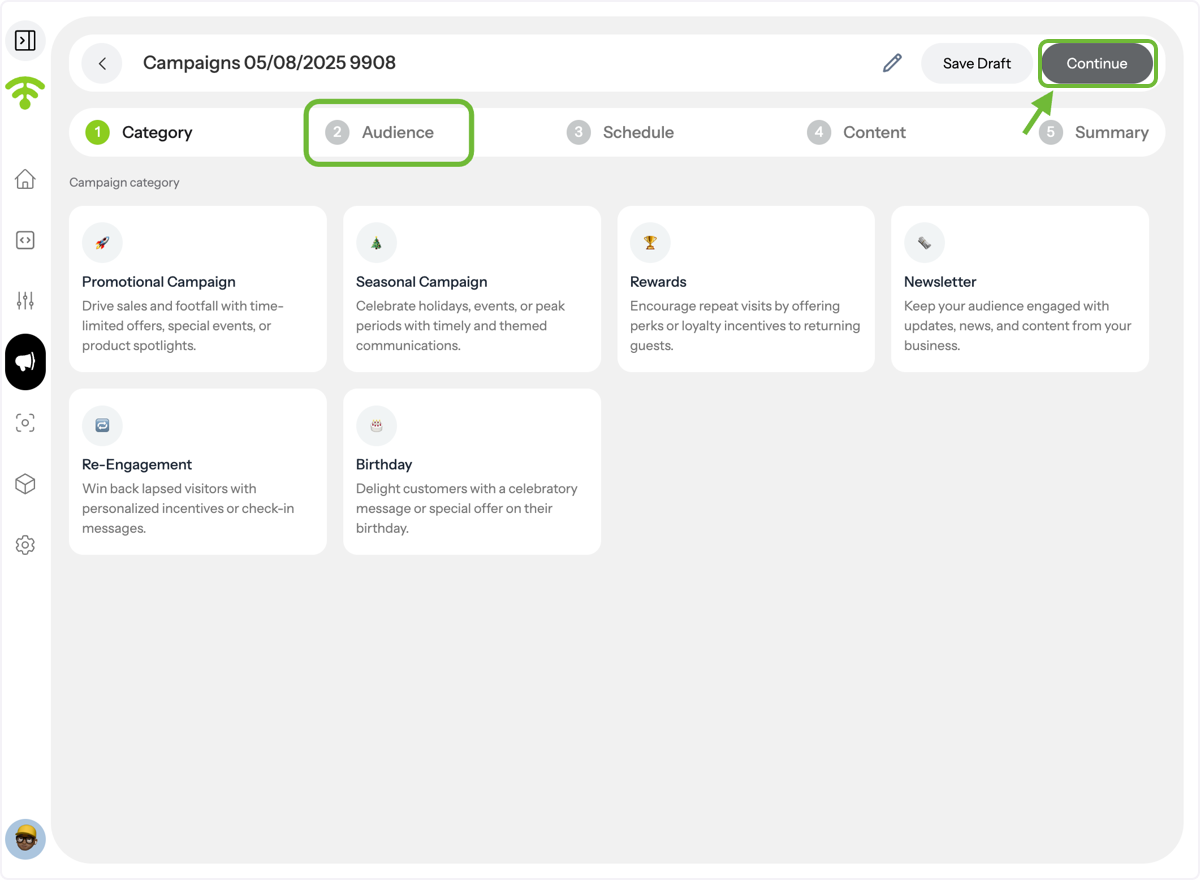
Select Dynamic Campaign Type
Click Dynamic — these campaigns are triggered by customer behavior.
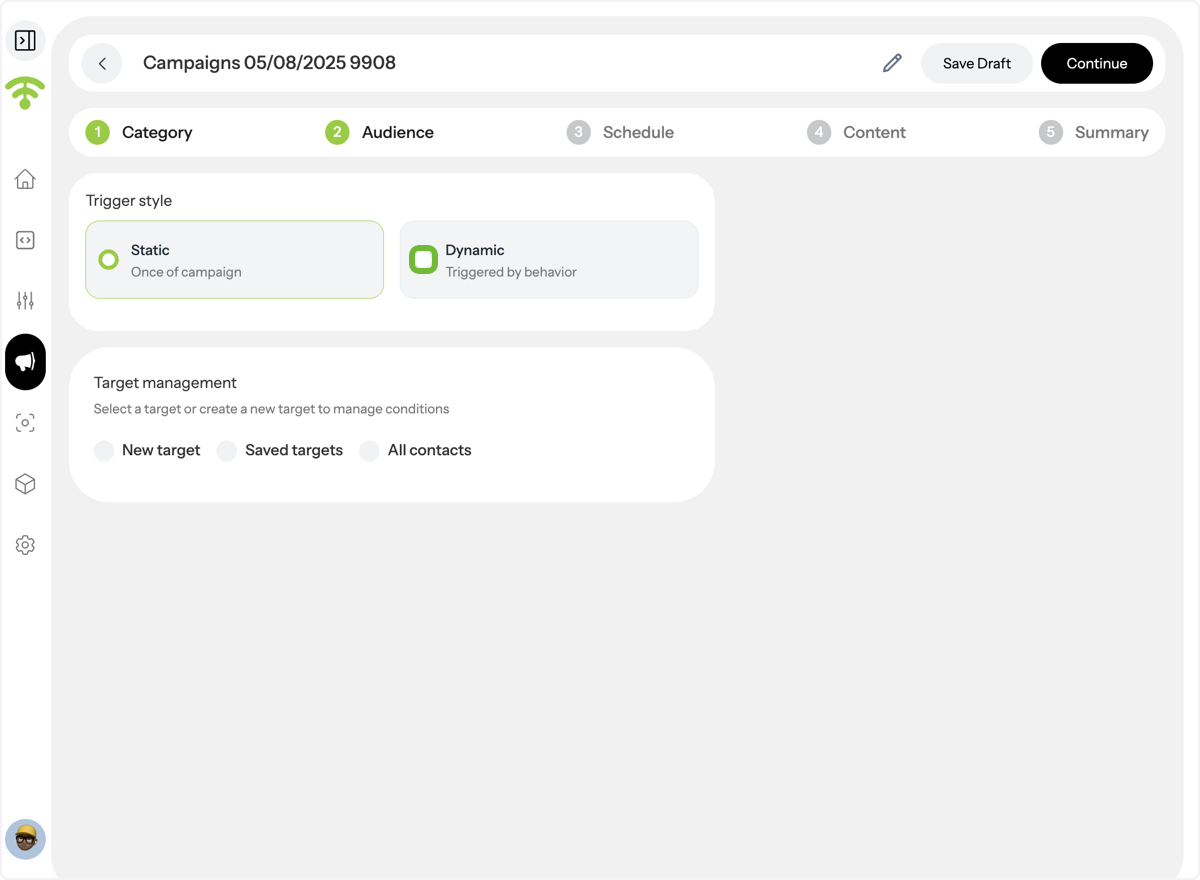
Choose Visit-Based Sending
Select Visit as your sending trigger.
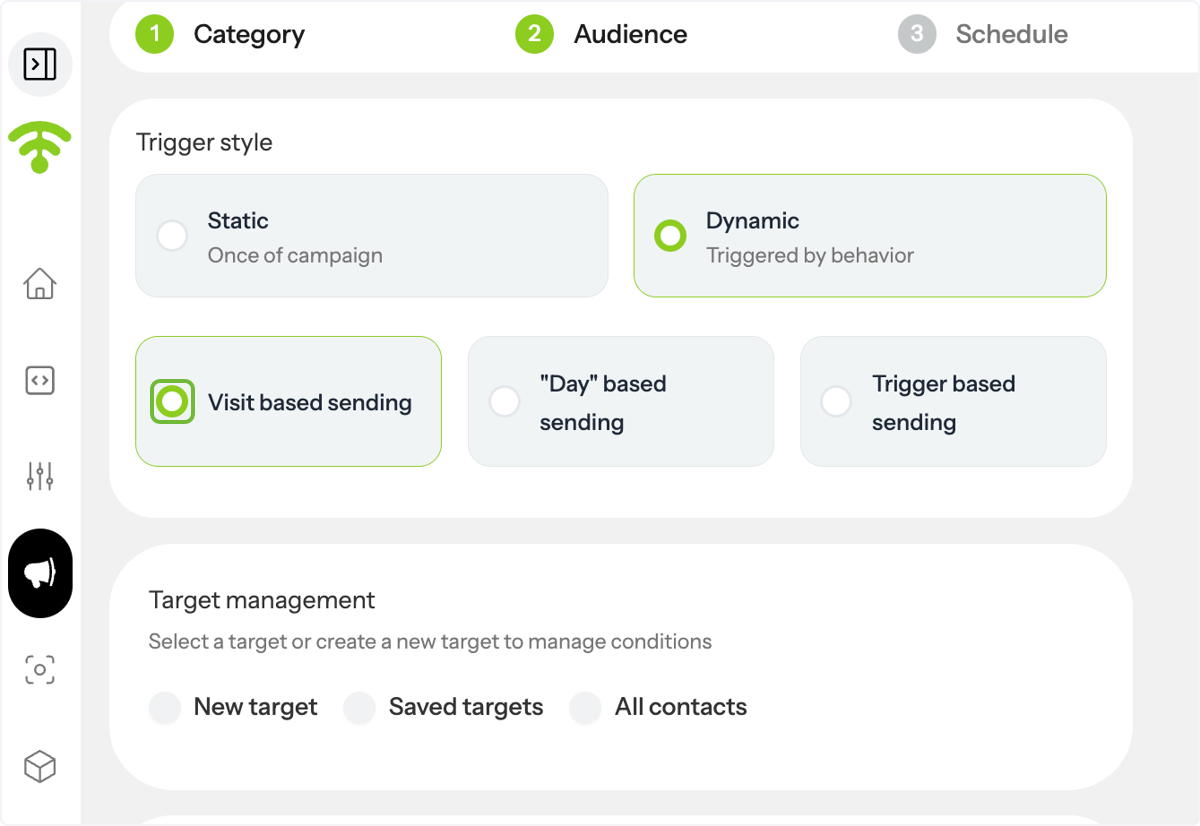
Pick or Create a Target
Either choose an existing saved target or create a new one.
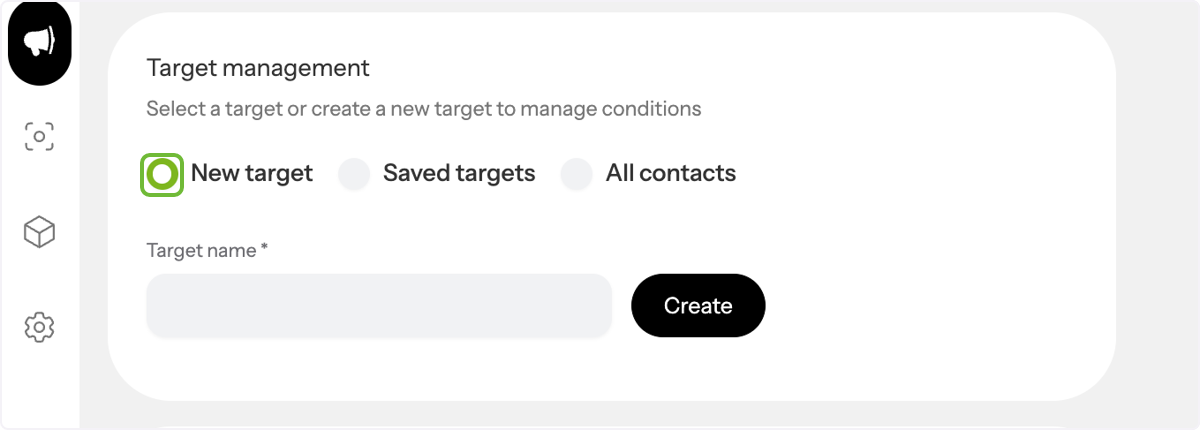
Select Visit Type
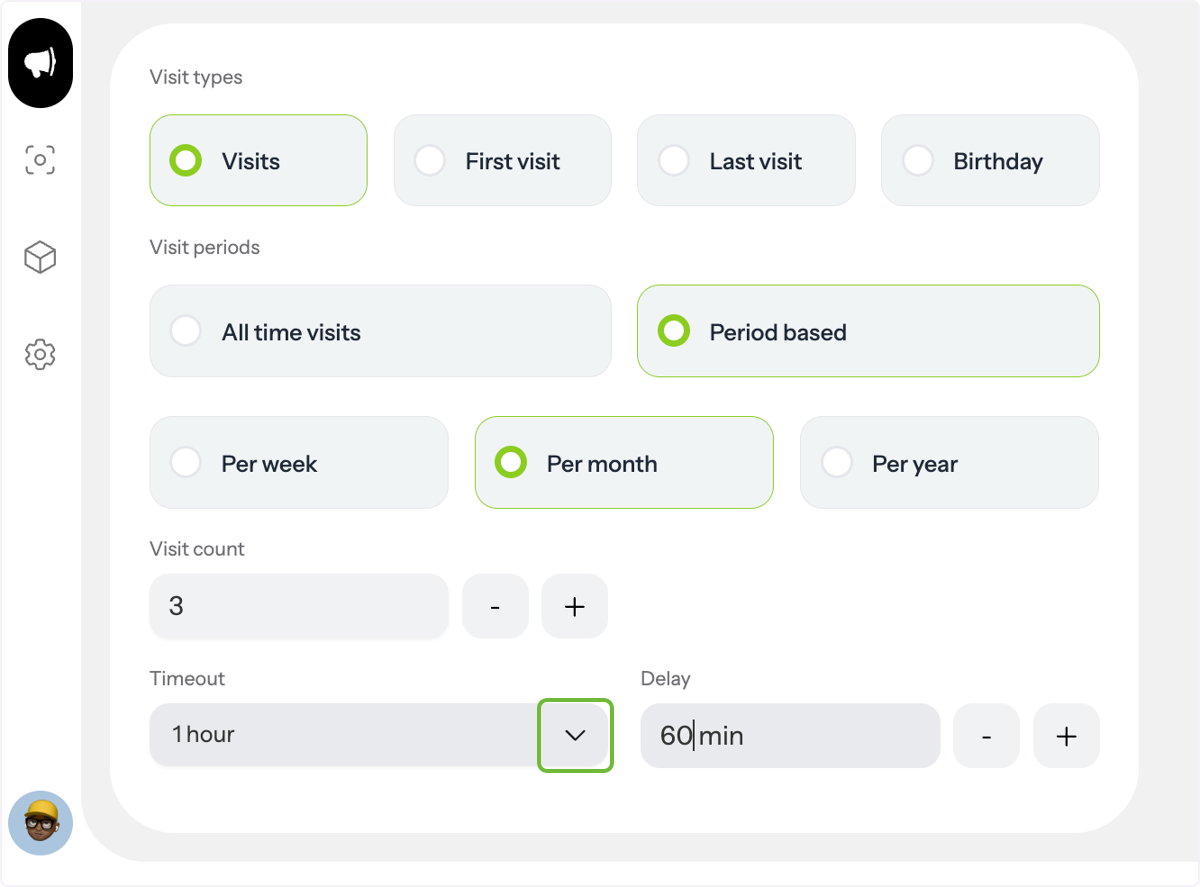
Choose from First Visit, Last Visit, Birthday, and visit periods; All-Time Visits, or Period-Based.
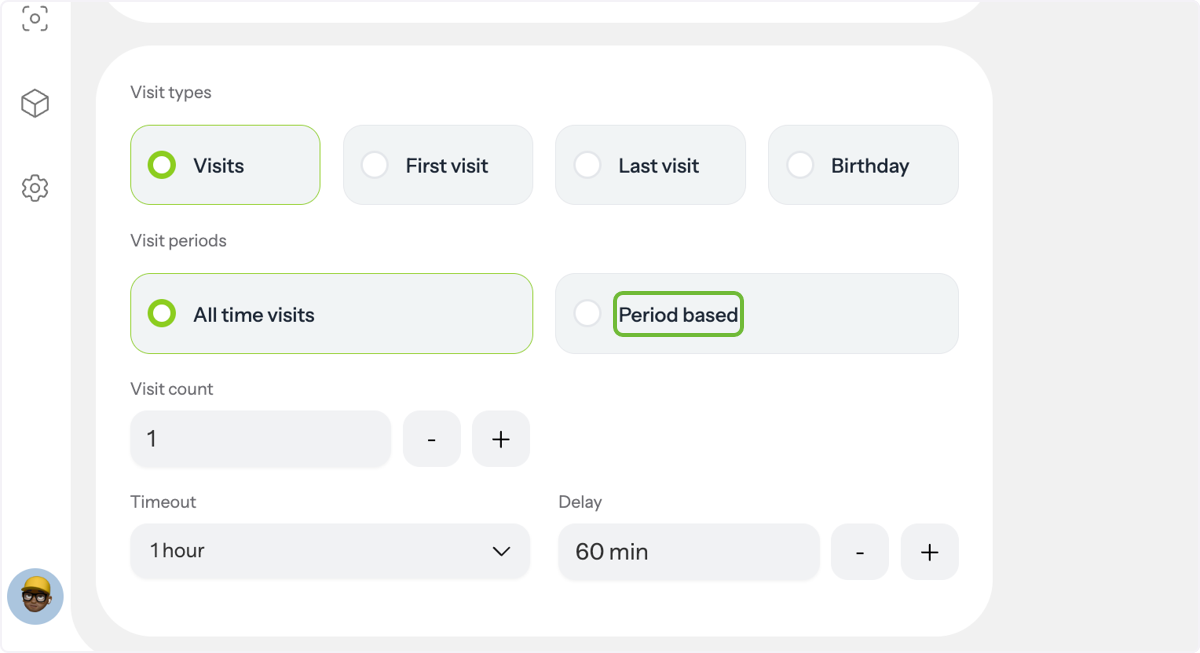
Configure Period-Based Visits
If you select Period-Based, choose a time frame (Per Week, Per Month, or Per Year) and set the visit count.
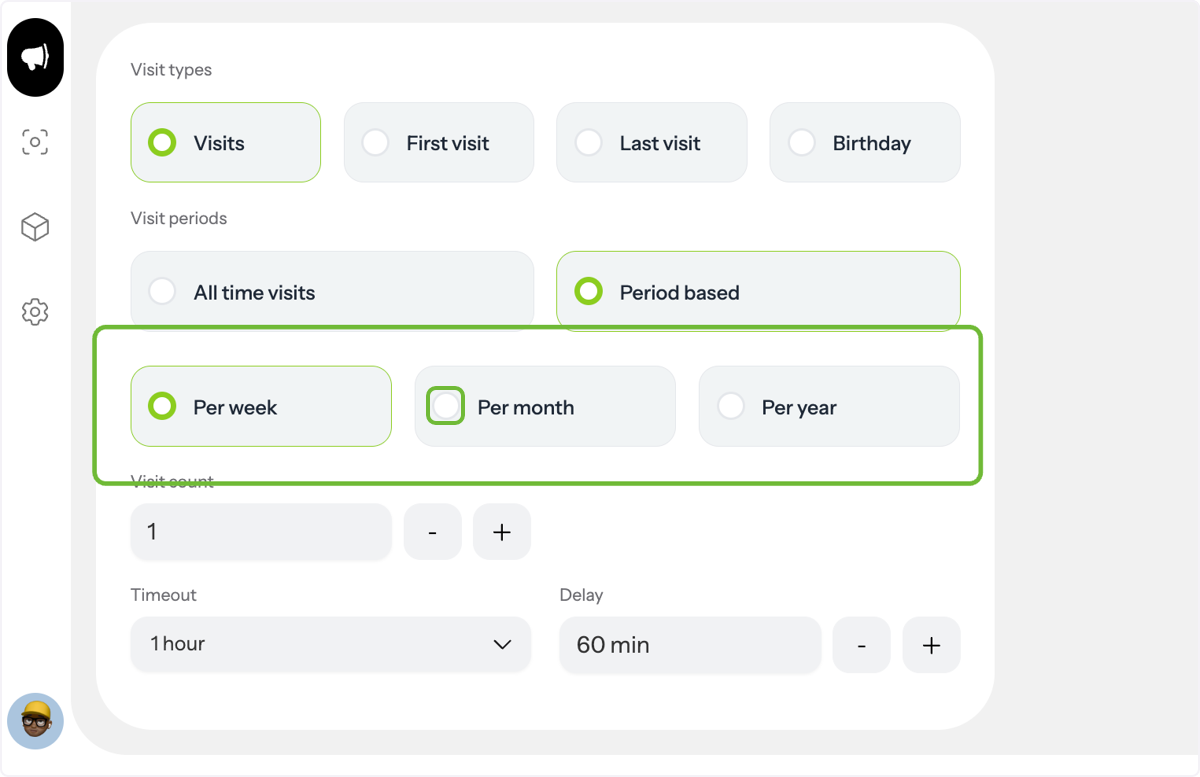
Set Delay Timing
Decide how long after the customer connects to Wi-Fi they should receive the email.
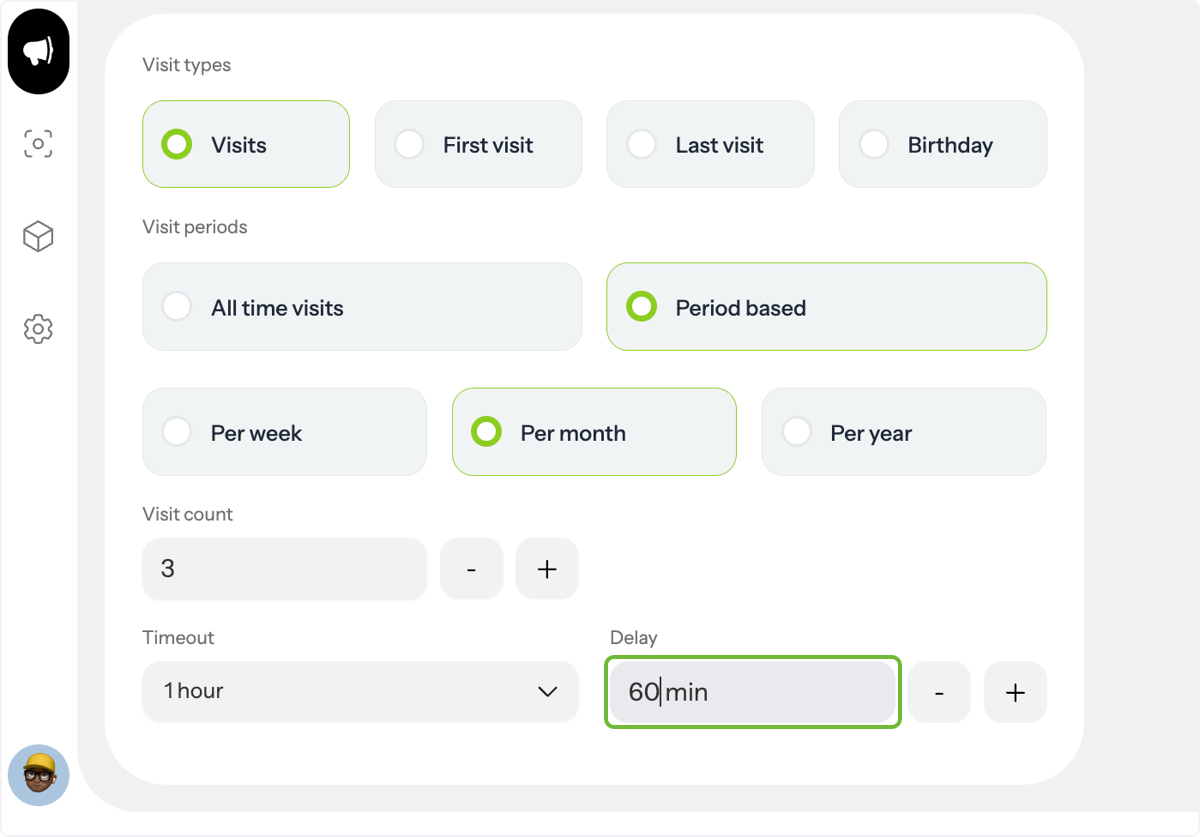
Set Timeout \(Advanced\)
This advanced feature prevents sending the current email if the customer has already received one from the same sender within a set number of hours. It’s part of suppression logic, ensuring customers aren’t bombarded with multiple emails in a short period.
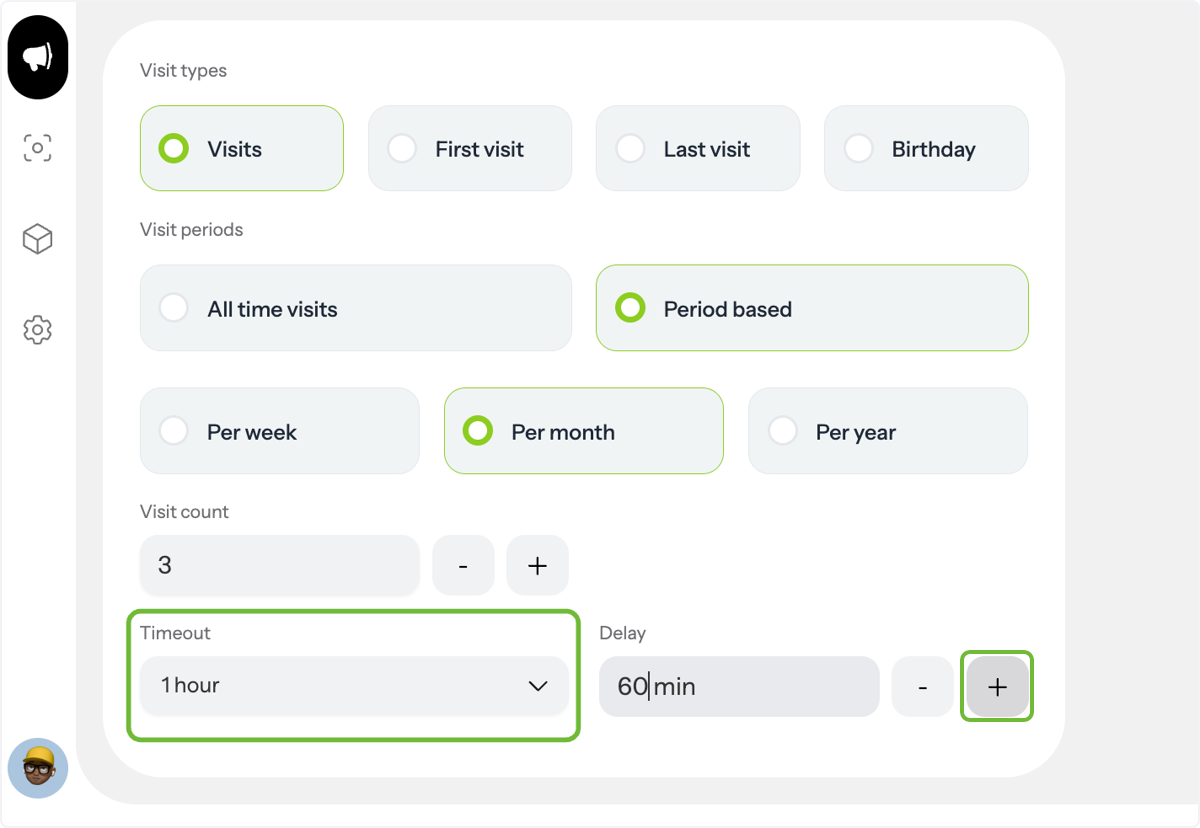
Finalize & Continue
After setting all preferences, click Continue in the upper left corner to proceed.