Quickly create and launch targeted email campaigns. Choose your audience, add content, schedule your send, and publish; all in a few simple steps. Perfect for driving guest engagement with ease.
Access the Campaigns Dashboard
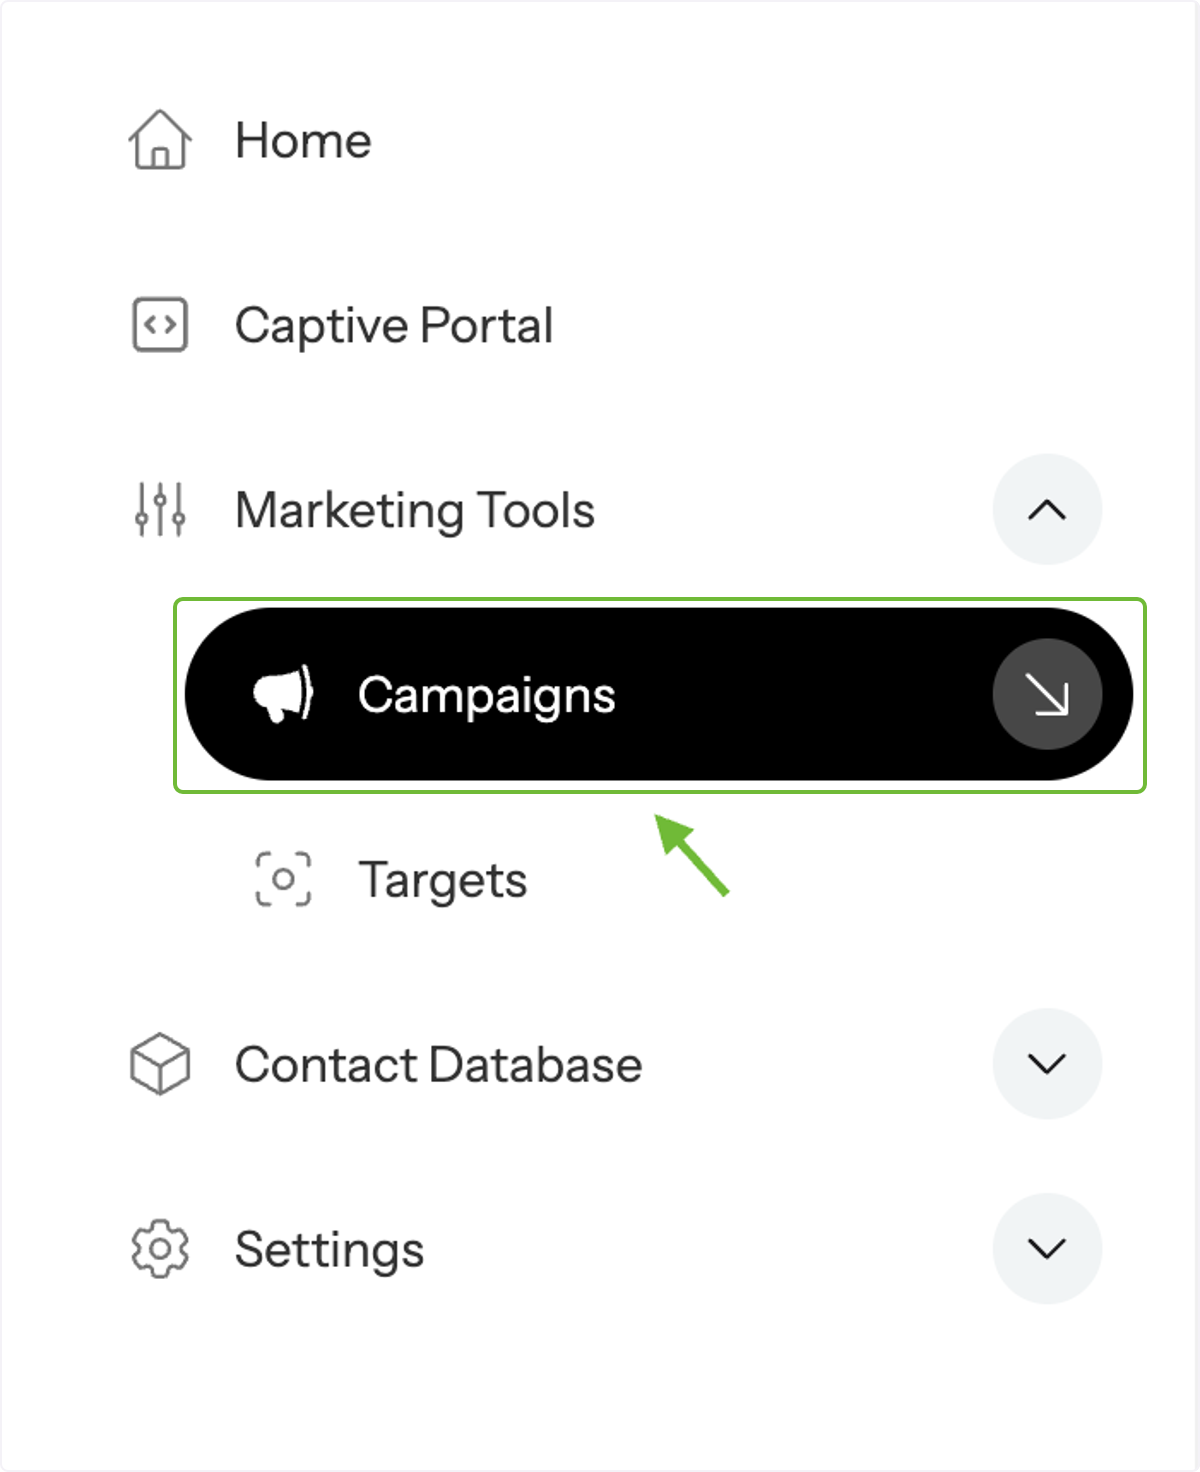
Go to Marketing Tools in the main menu and select Campaigns to view all your existing and past campaigns.
Start a New Campaign
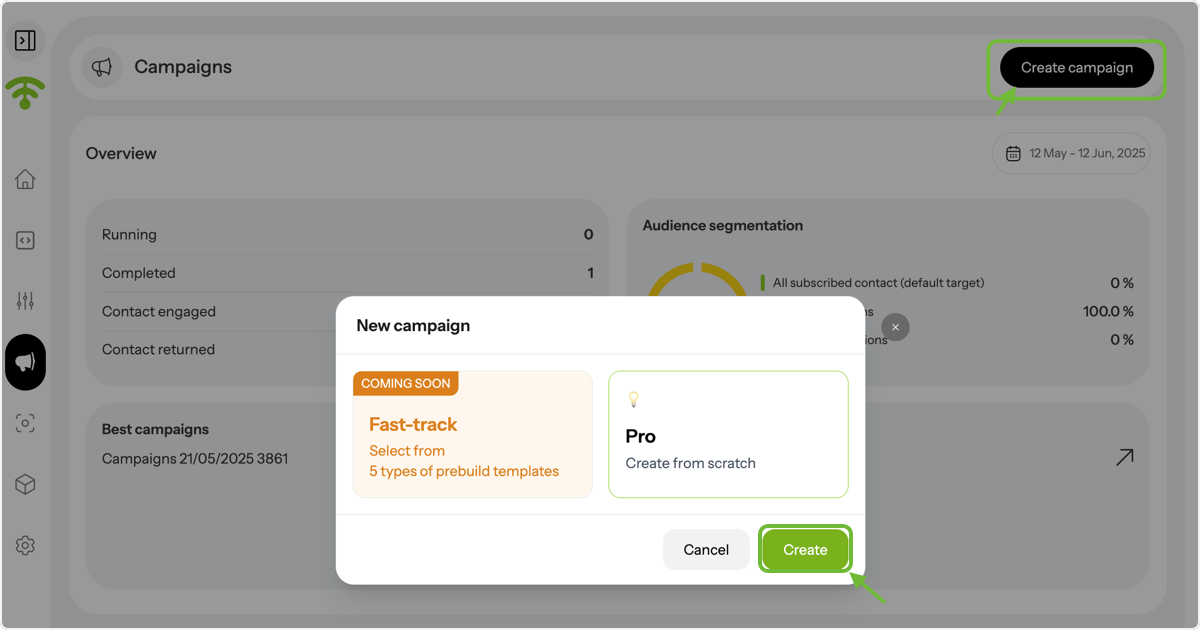
Click on Create Campaign in the top-right corner. A setup box will appear; click Create to begin.
Choose Your Campaign Type
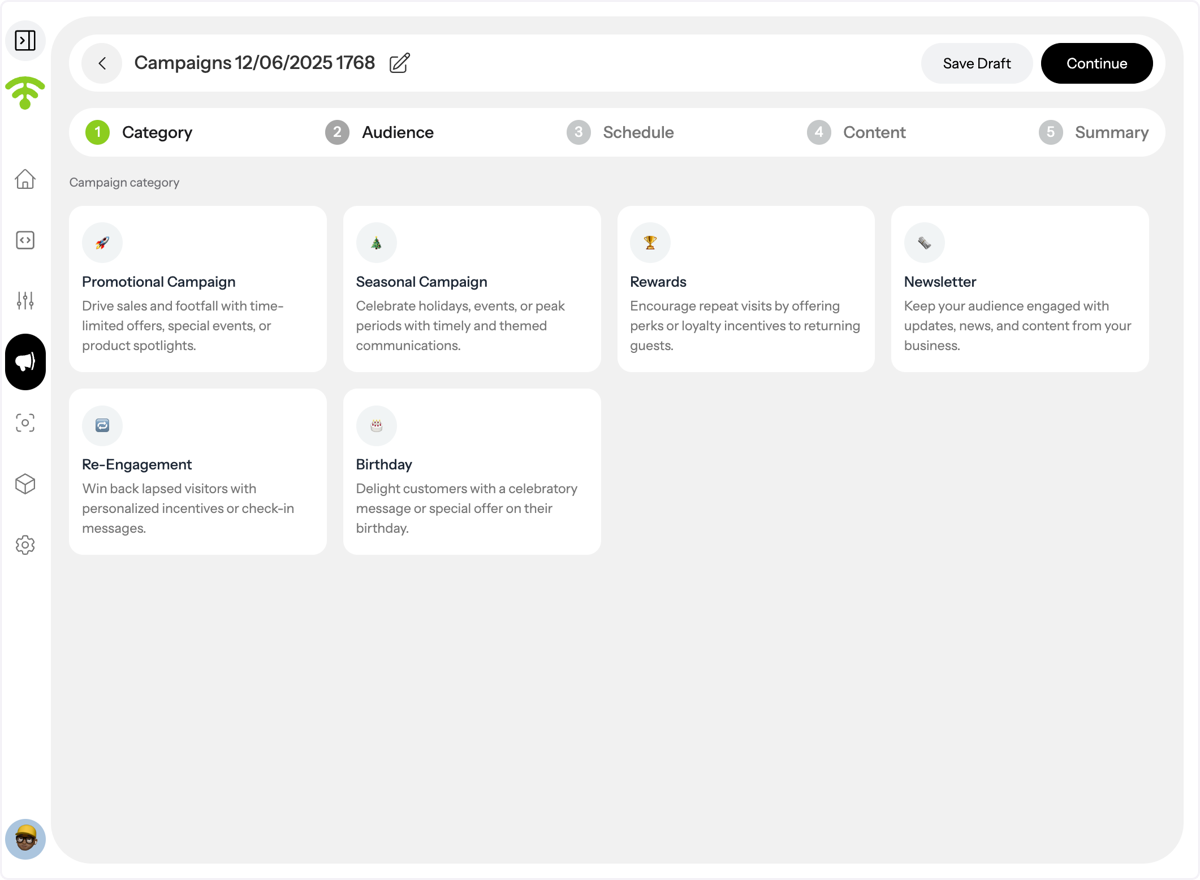
Under the Category section, you can view different types of campaigns you can create.
Define Your Audience
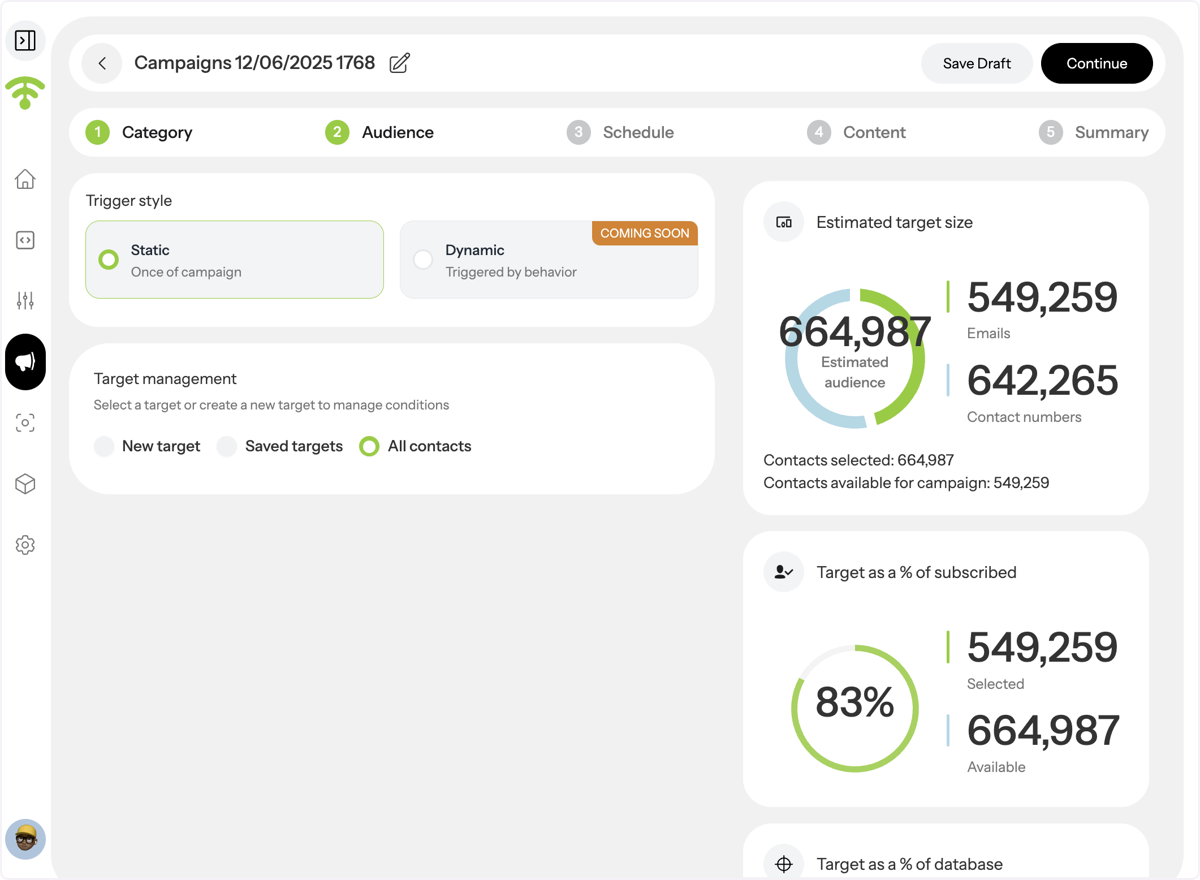
Click on Audience. You can choose to send your campaign to all contacts, use an existing audience, or create a new one. The panel on the right shows the estimated target size.
Use Saved Targets \(Optional\)
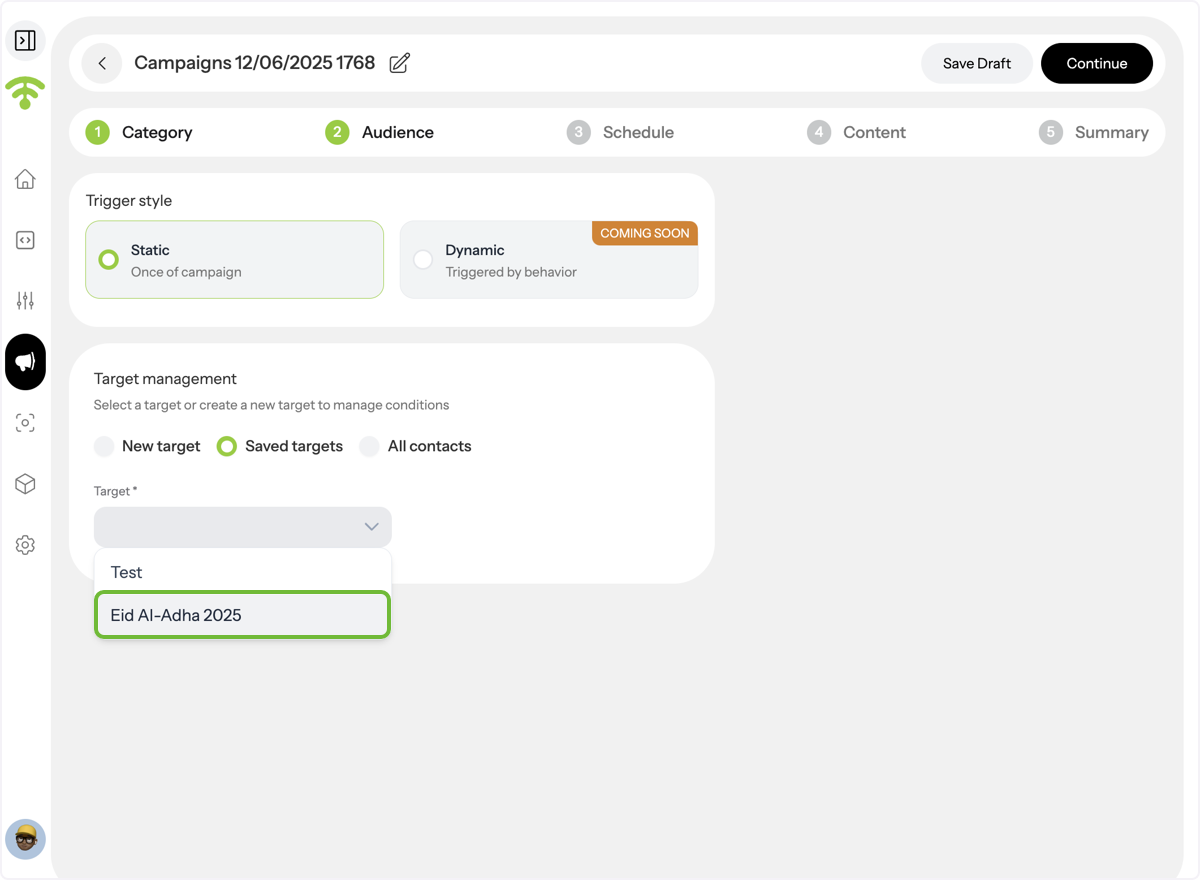
If you've saved target groups previously, click Saved Targets and select one from the dropdown menu.
Schedule Your Campaign
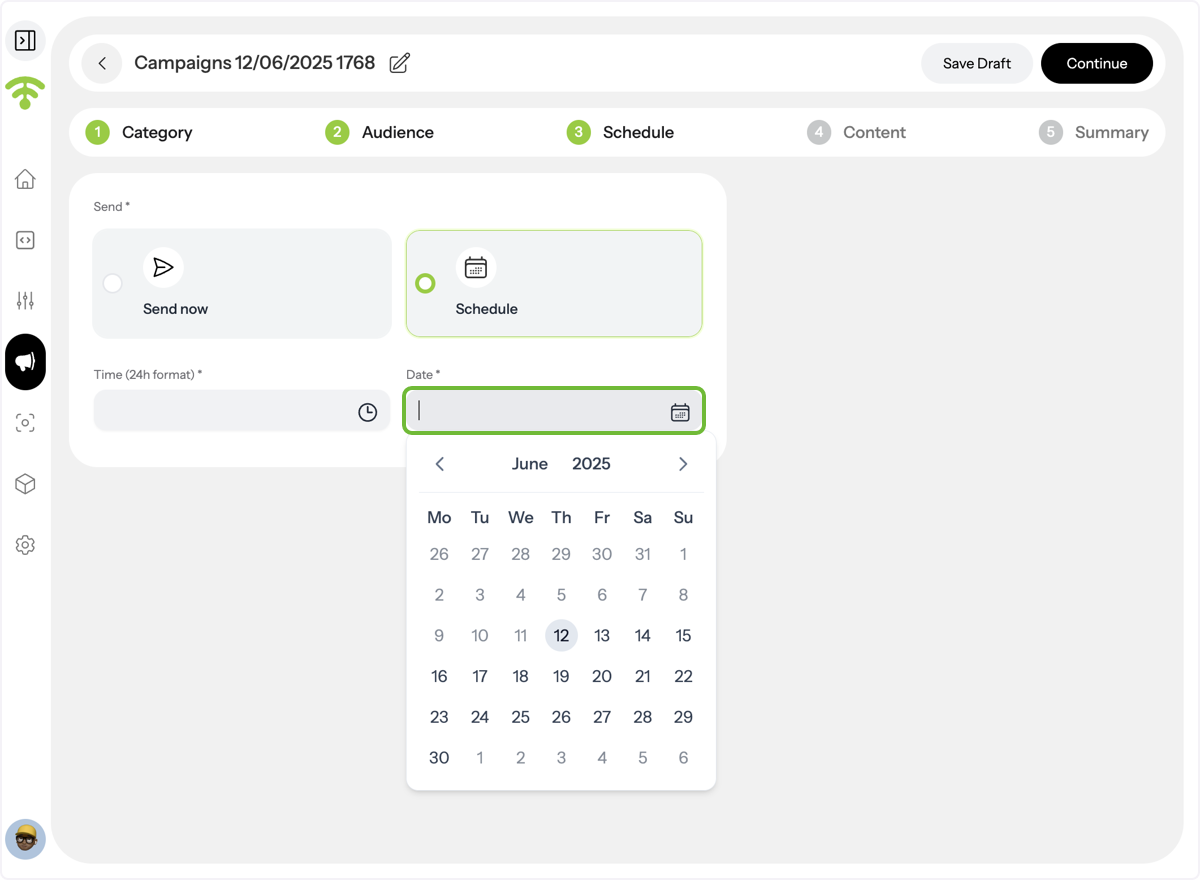
Click Schedule to set your delivery time. Choose to send immediately or select a specific date and time.
Add Campaign Content
Go to Content and choose from available templates or add your own. Fill in the required fields like subject line, preview text, and sender details.

Review and Finalize
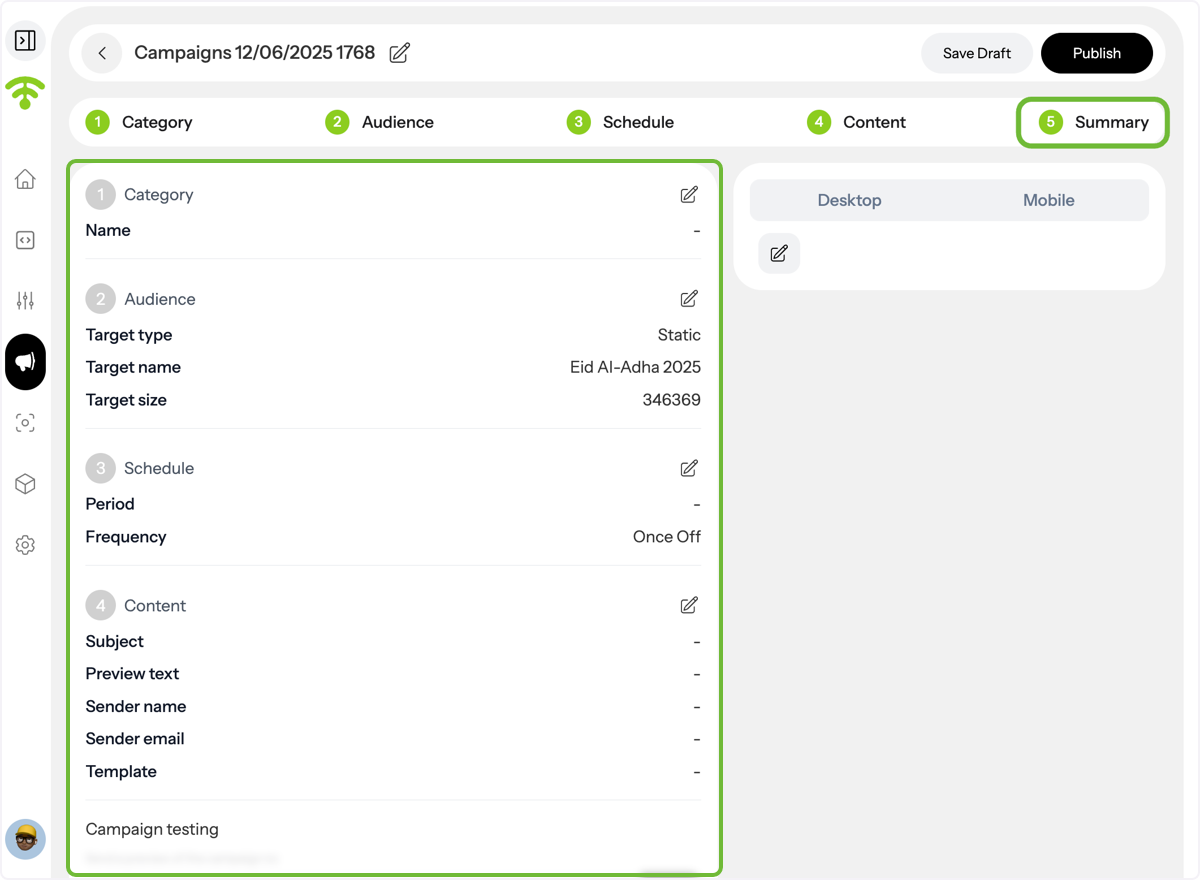
Click on Summary to preview your full campaign before sending. You can also easily toggle between desktop and mobile views to check how your campaign will appear to guests. Click on Publish, and you are good to go!
Estimate Revenue Impact
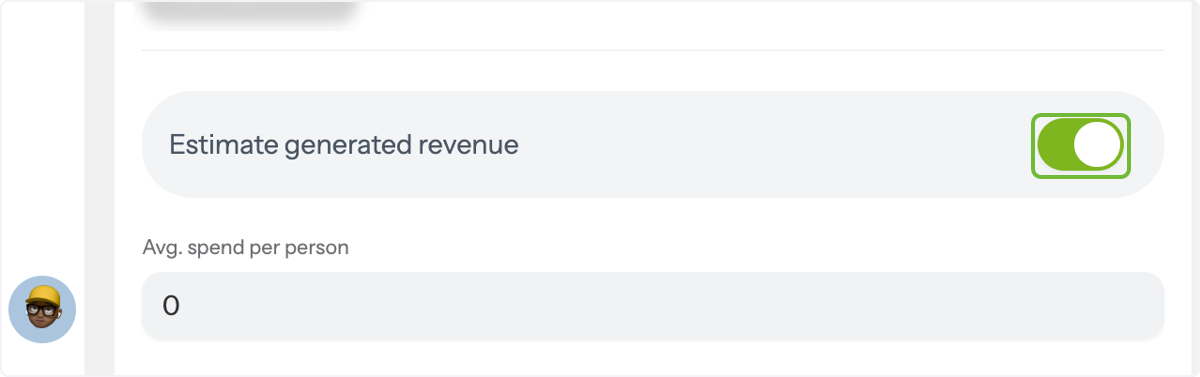
Toggle on Estimated Generated Revenue. Input the average spend per person to see how many recipients returned and the potential revenue earned from the campaign.