Learn how to customize the Welcome Page in Affinect to create a personalized and engaging experience for your users.
Affinect
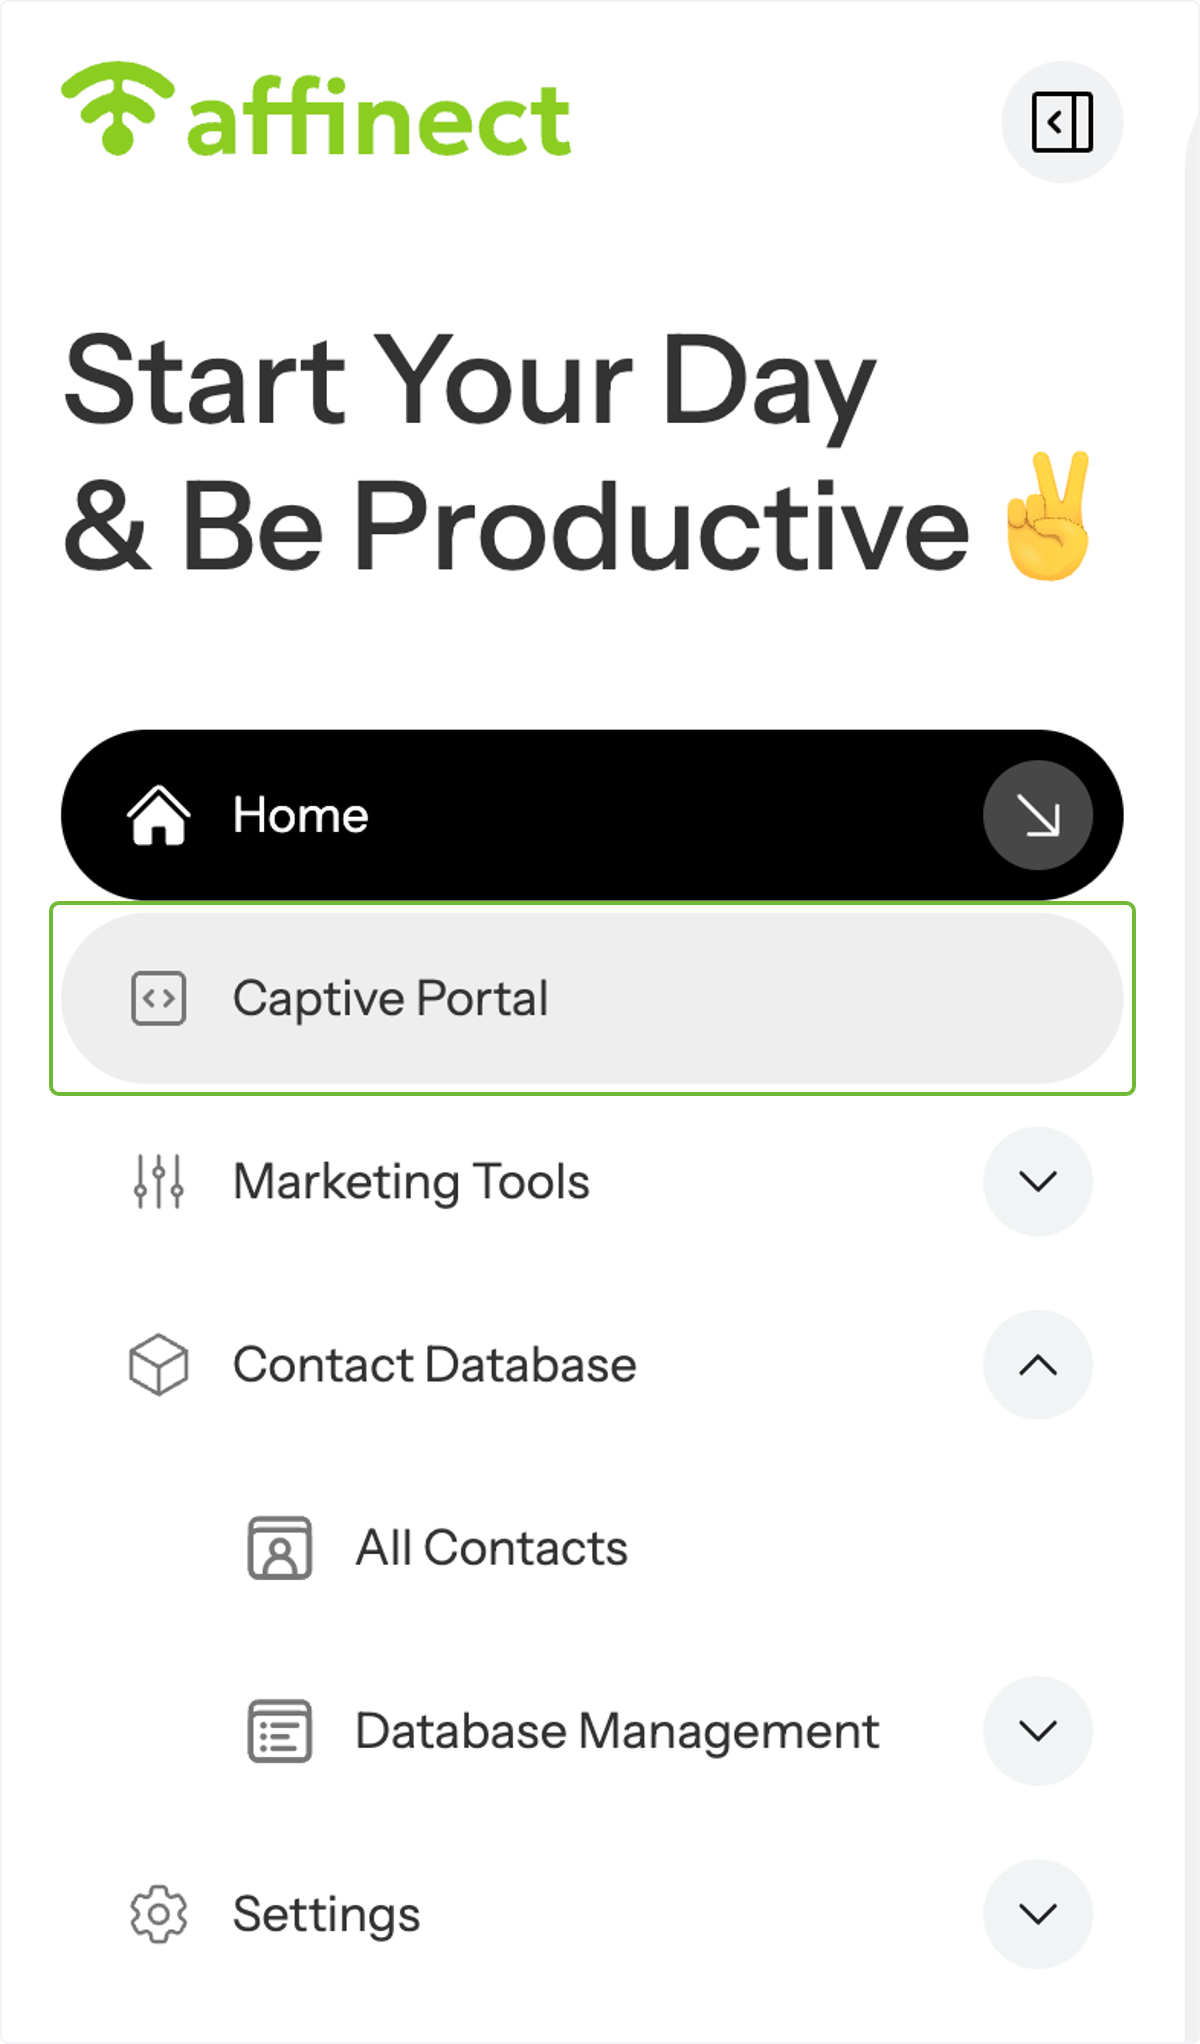
Click on Captive Portal on the left-hand side of the dashboard.
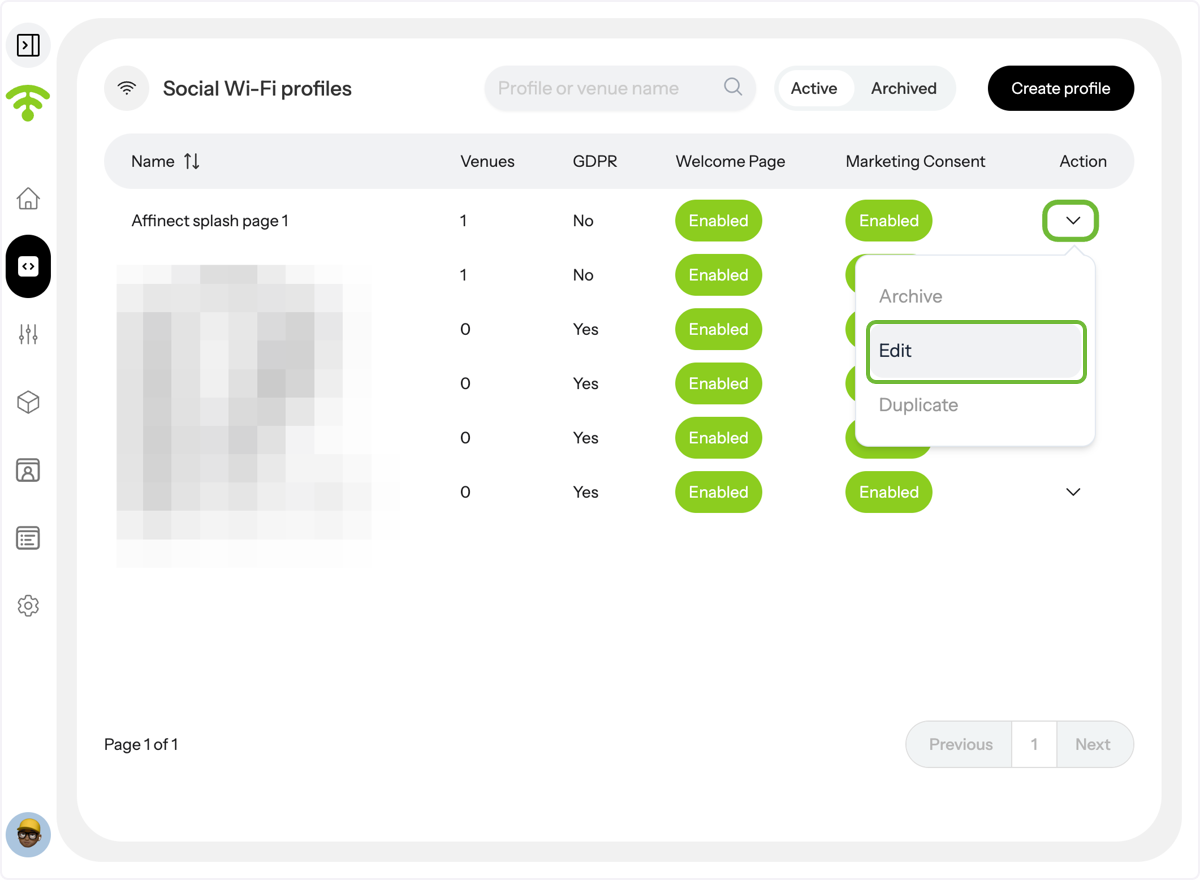
A preview of your social WiFi profiles will appear. Under Actions, click on the profile's drop-down menu you wish to update the Welcome page for and click 'Edit'.
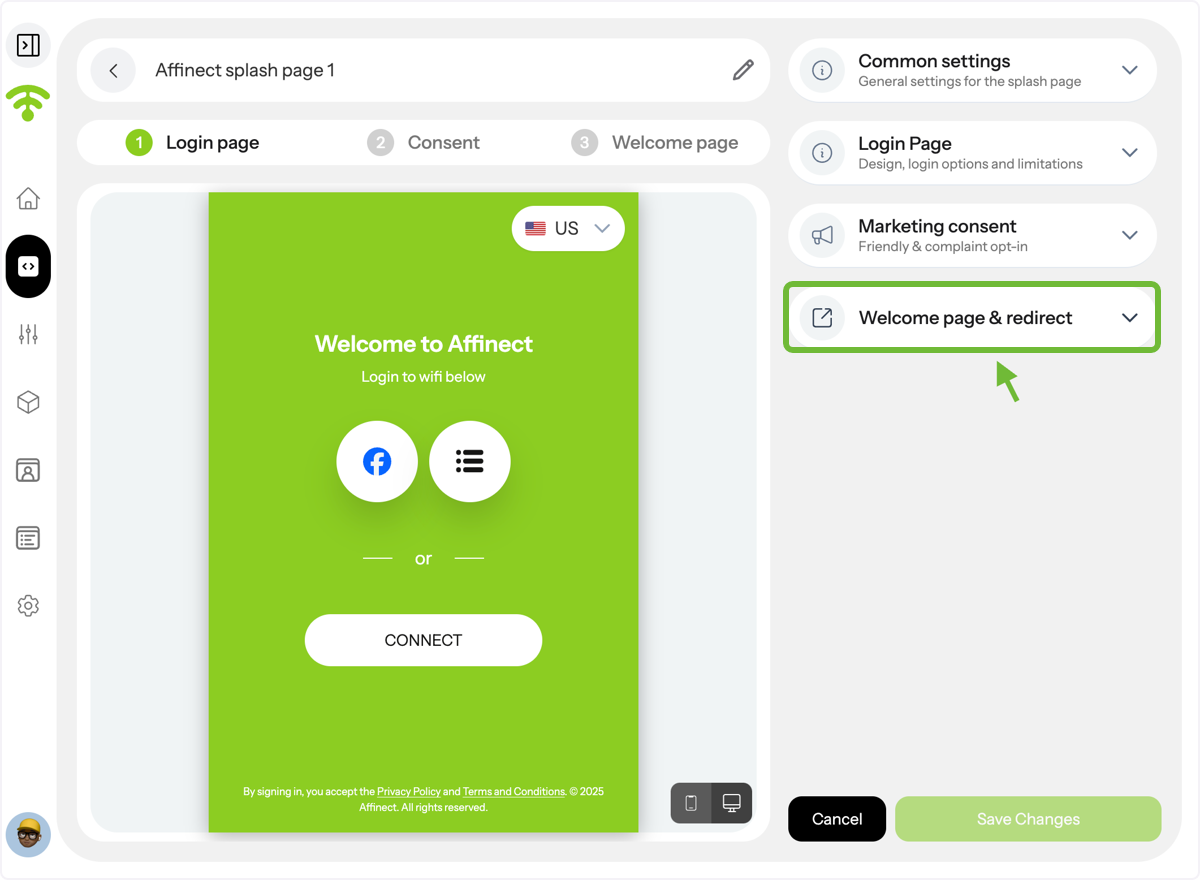
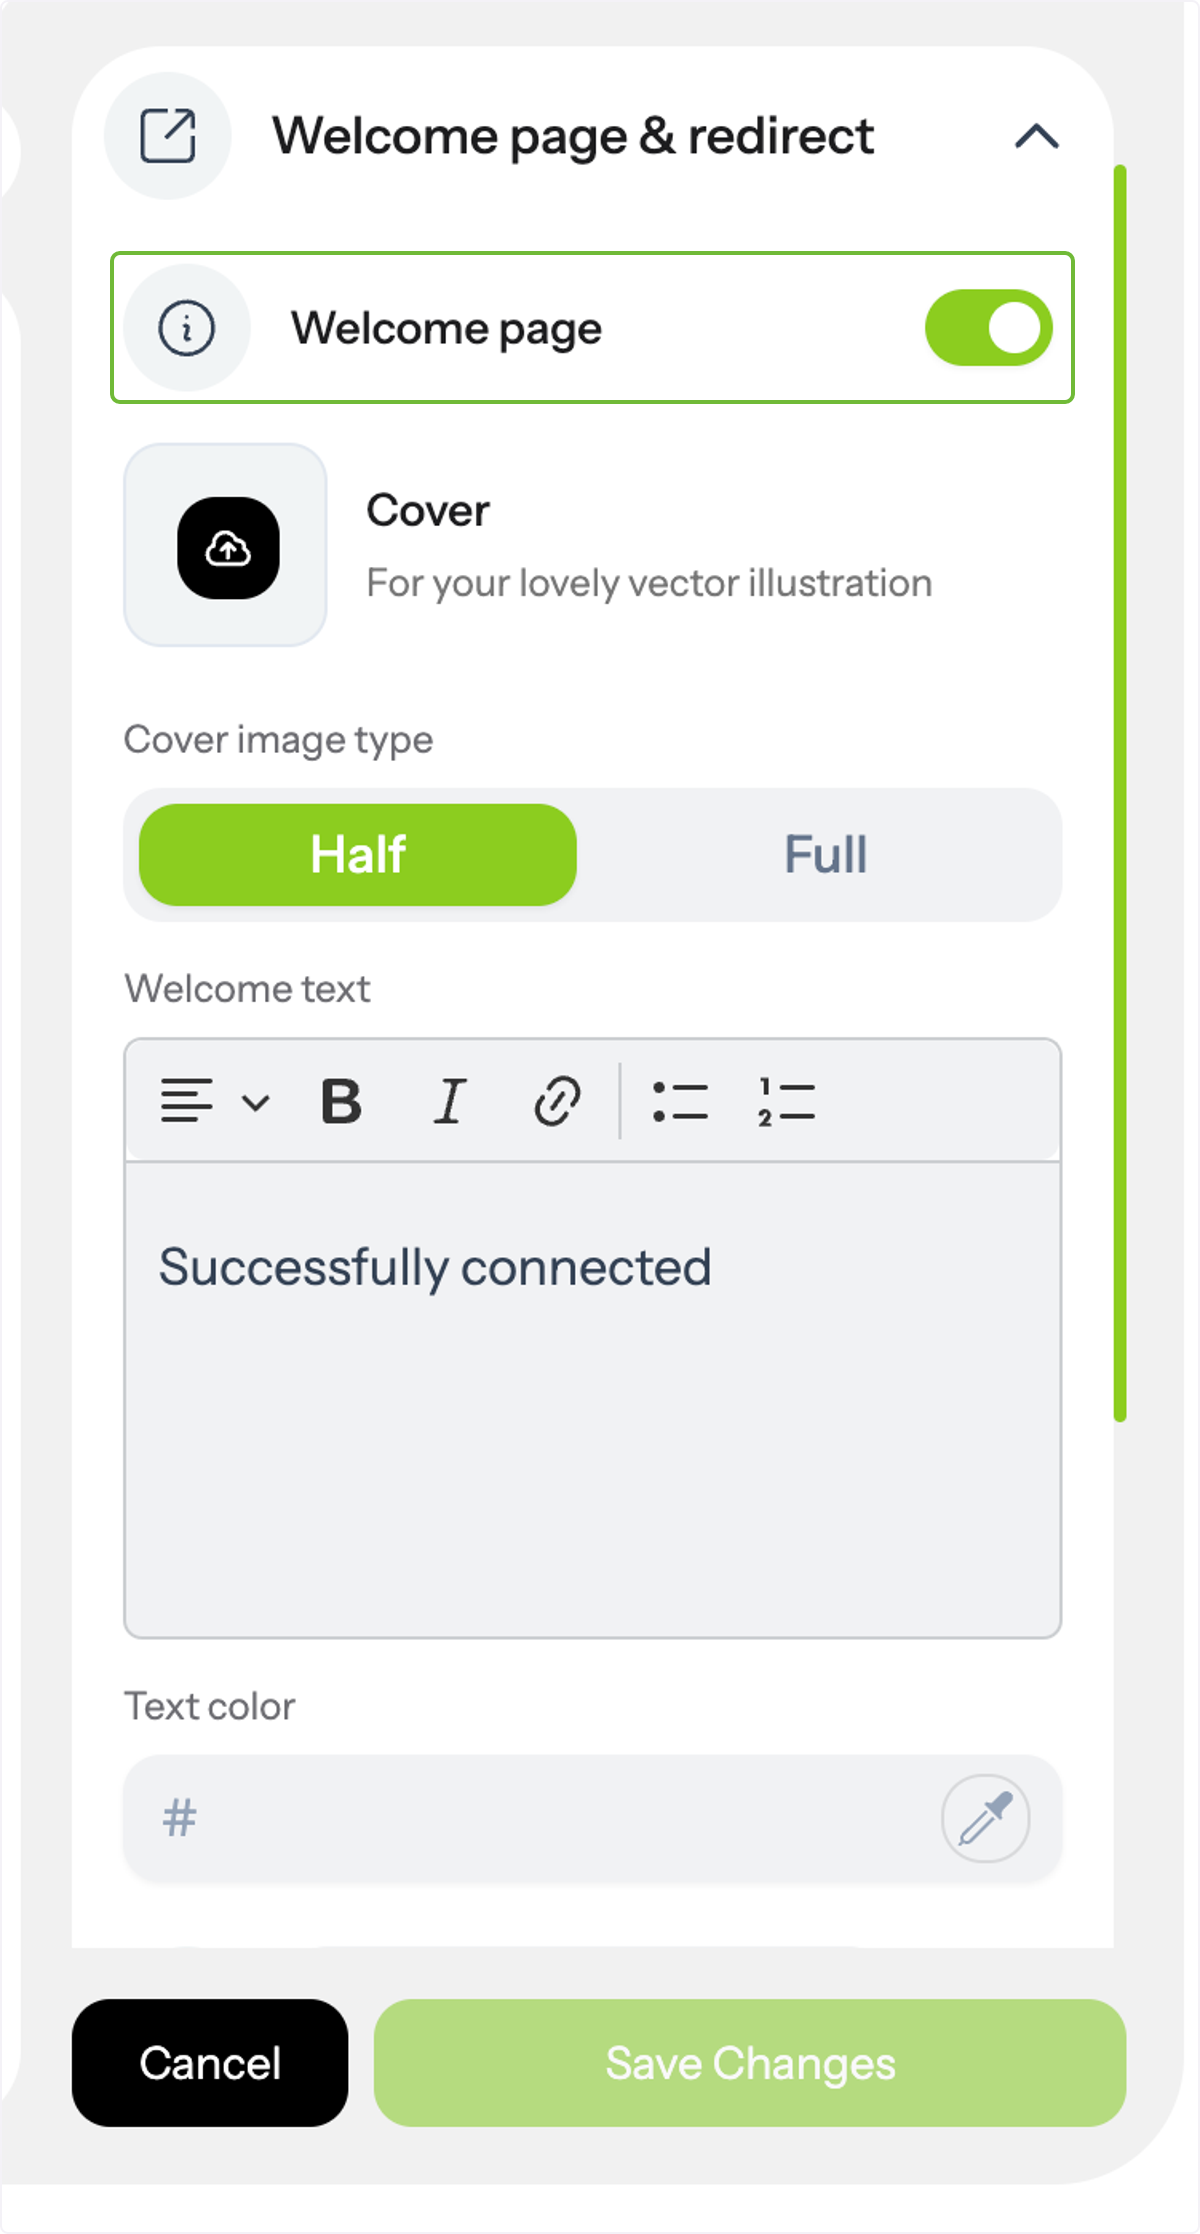
A preview of your splash page will appear with settings on the right-hand side. Click on the 'Welcome Page & redirect' to customize.
A preview of your splash page will appear with settings on the right-hand side. Click on the 'Welcome Page & redirect' to customize.
Welcome page purpose - customer experience continuity
The Welcome page is an optional setting; you can keep it disabled and/or only set up a redirect page.
The setting options: welcome page & redirect page enabled, or either can be turned off.
You can select a half-screen or full-screen cover image to create a visual impact. You can also customize your welcome message, adjust font styles, and select colors that align with your brand to set the tone for your guests' Wi-Fi experience.
You can add a redirect link for users after login. You can choose Google, Facebook, or Instagram, or direct them to a custom URL of your choice.
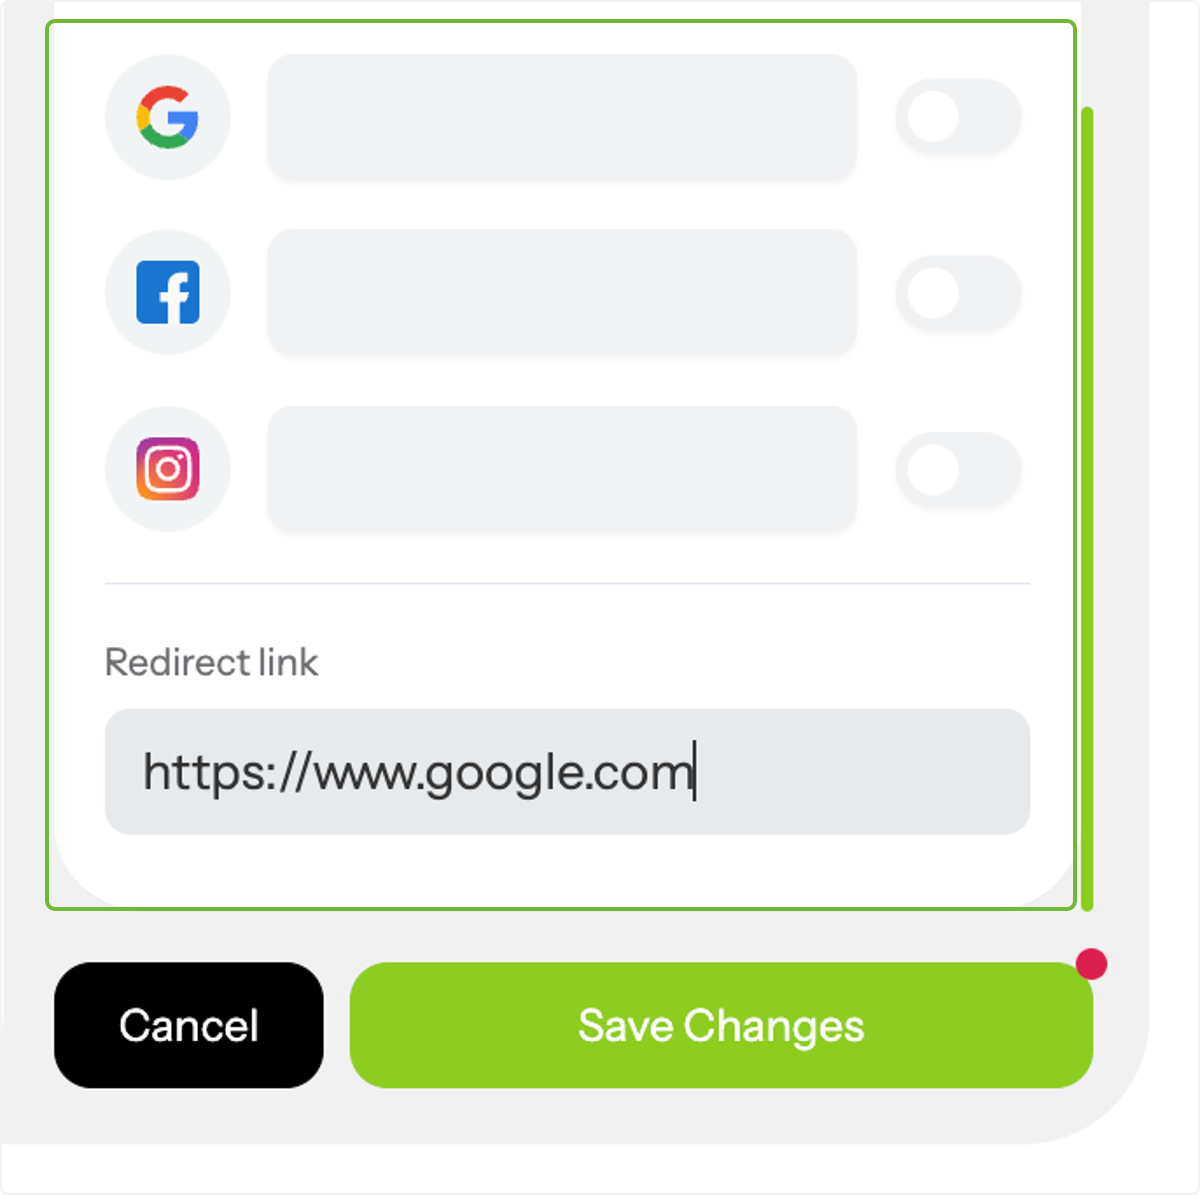
Once you're done, do not forget to click 'Save Changes'. Tada! That's all. Happy Connecting and Customizing!