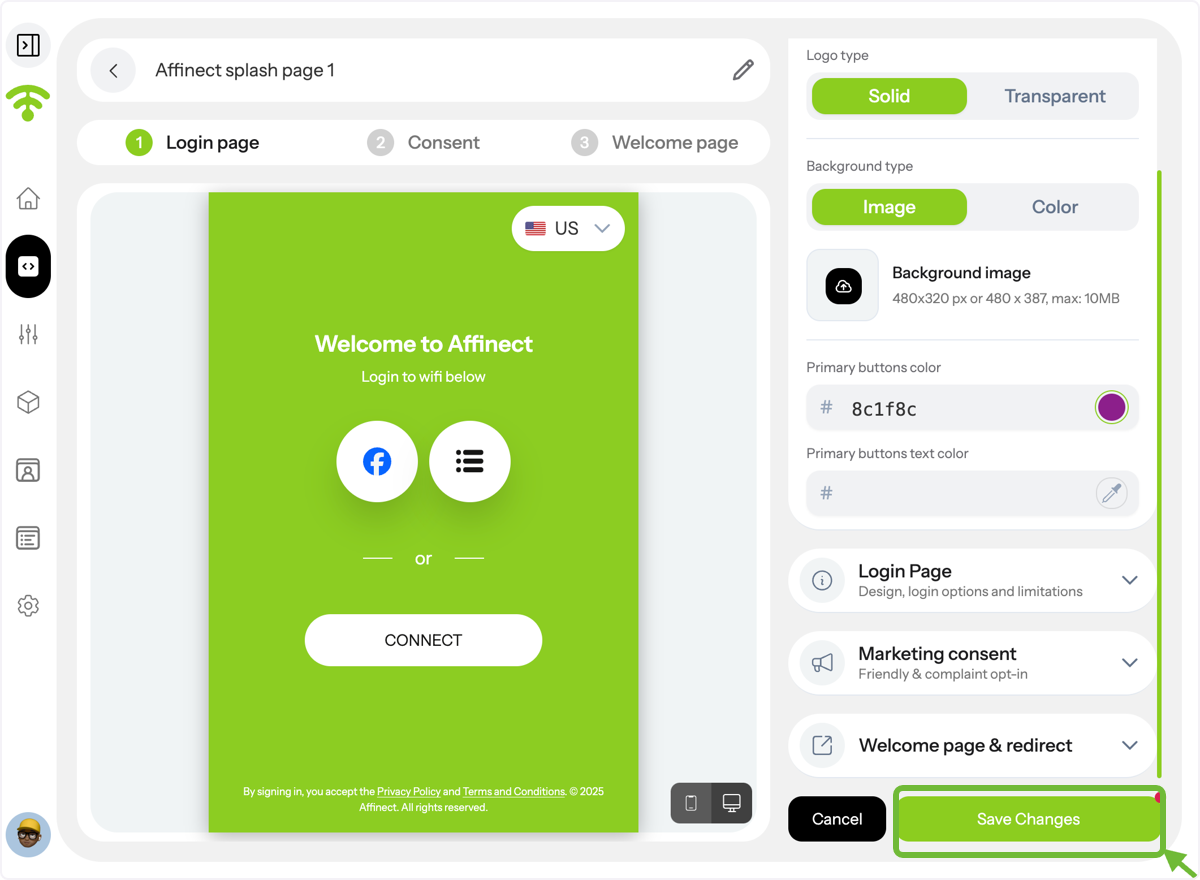
Set the foundation of your Splash Page by configuring the general settings in Affinect.
Affinect
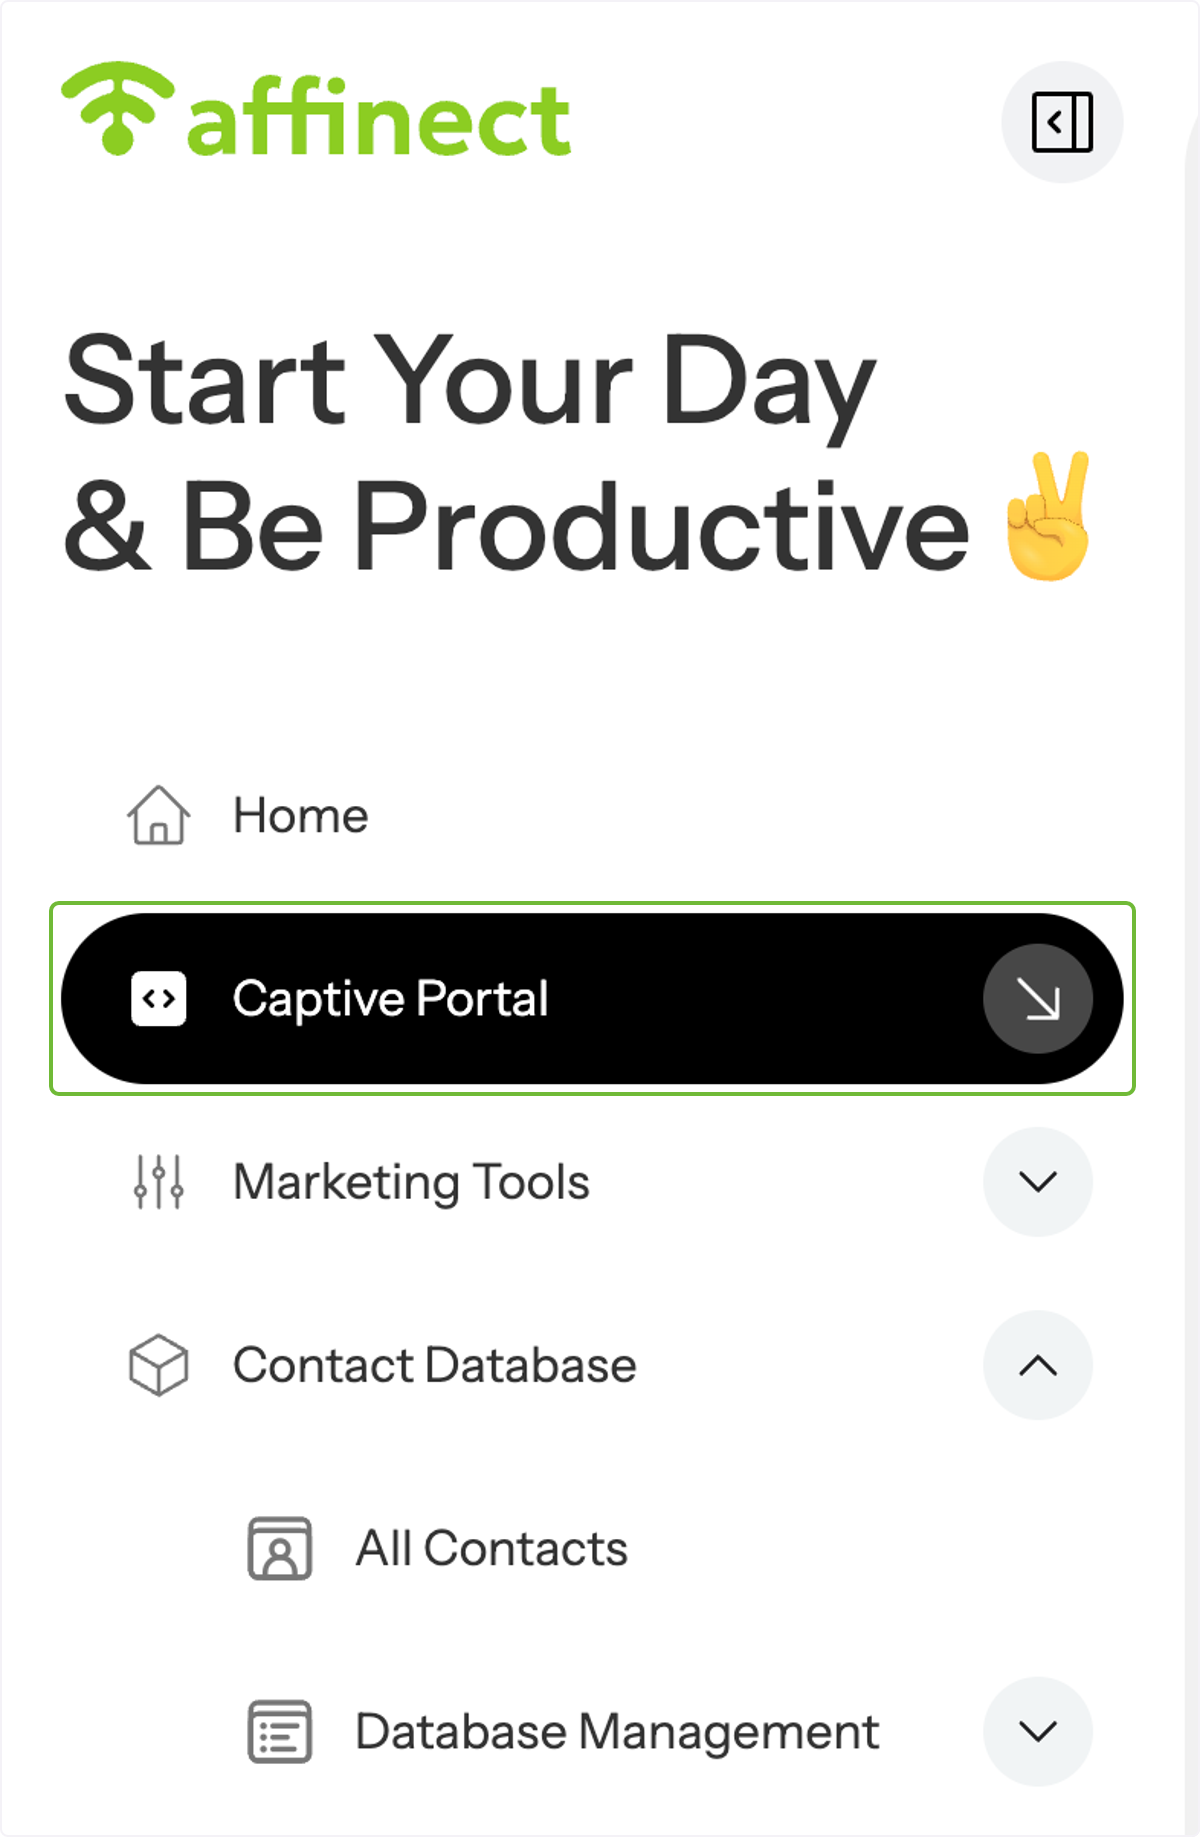
Click on Captive Portal on the left-hand side of the dashboard.
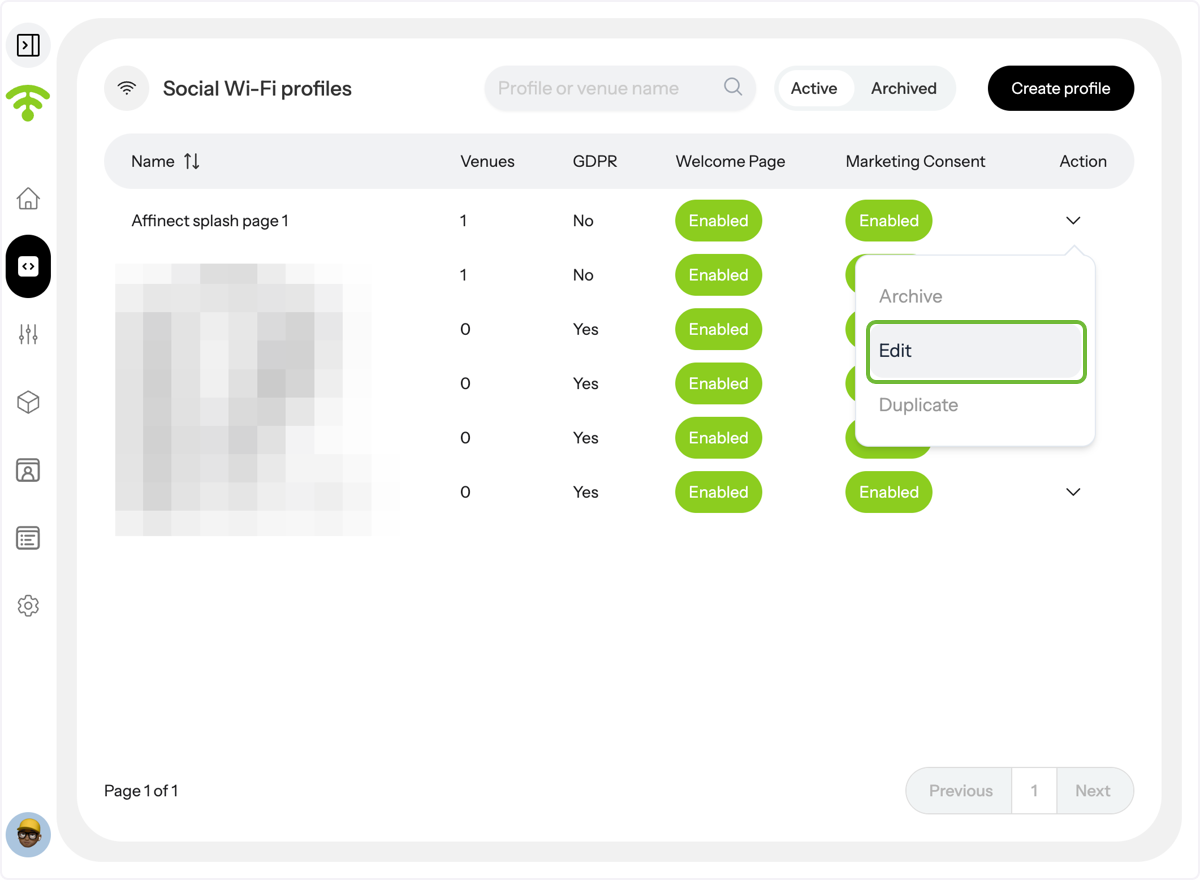
A preview of your social WiFi profiles will appear. Under Actions, click on the profile's drop-down menu you wish to update the general settings for and click 'Edit'.
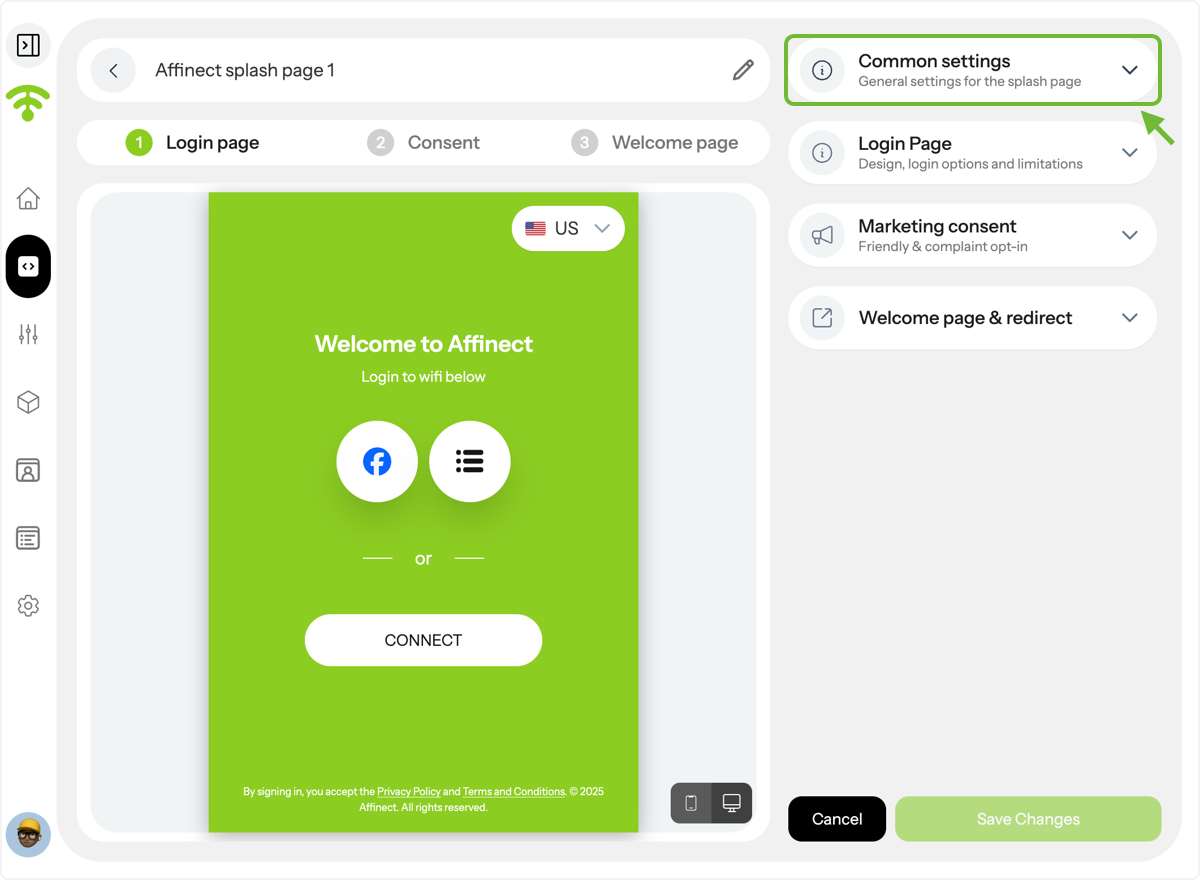
A preview of your splash page will appear with settings on the right-hand side. Click on 'Common settings' to continue.
You can upload your brand logo either with a solid background or a transparent one.
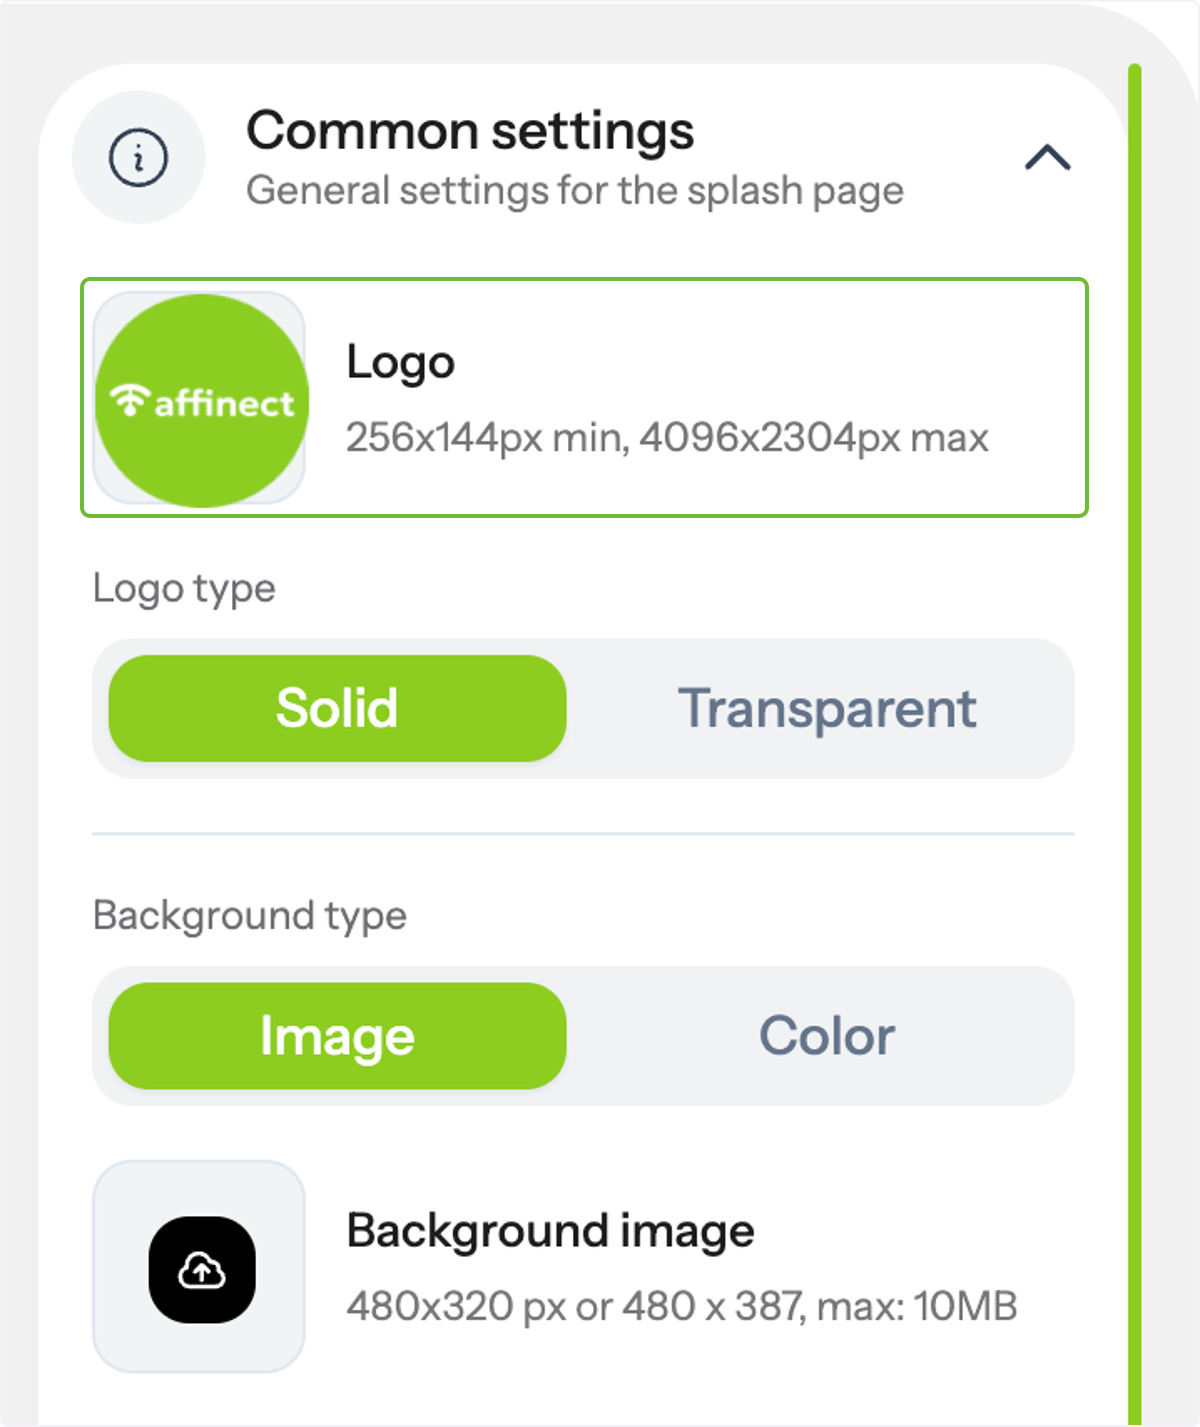
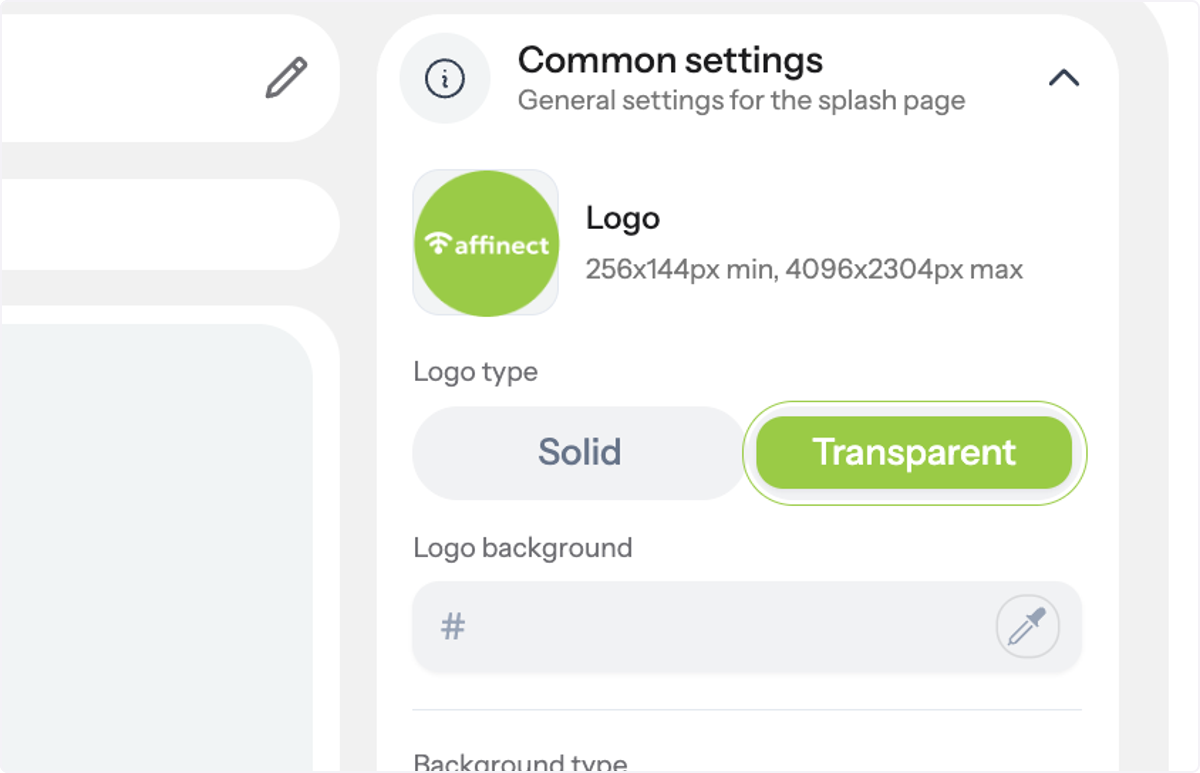
Using a transparent PNG for the logo?
If yes, you can toggle between a transparent or solid background and add background fill color.
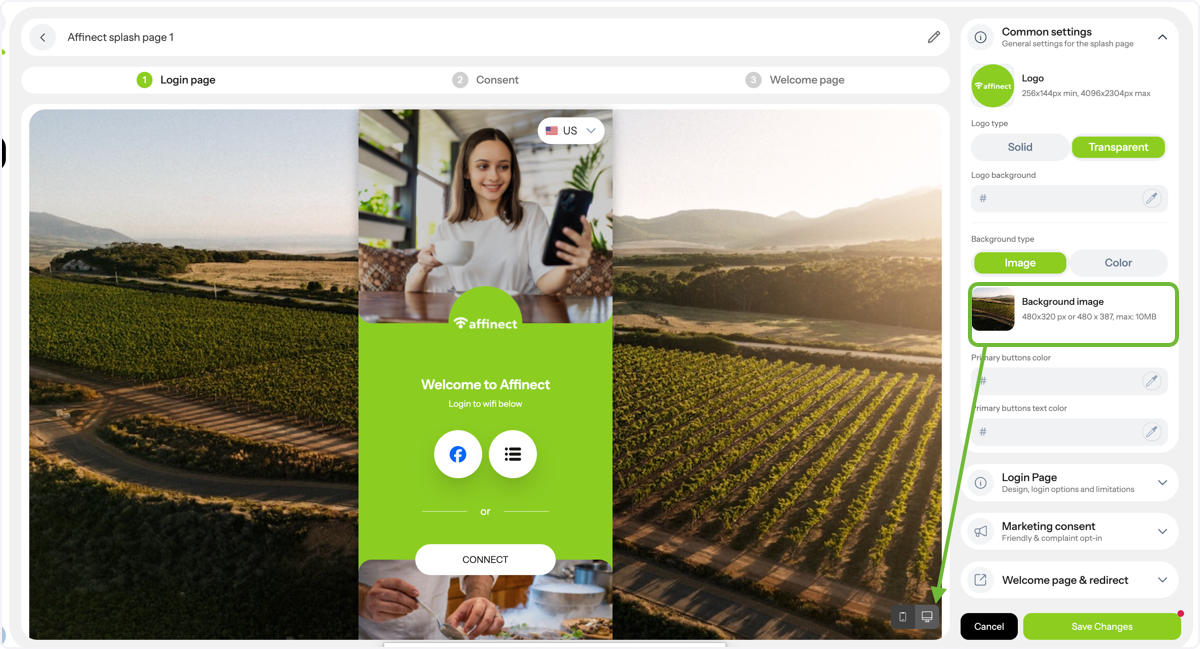
Screen background image \(laptop login\)
You can select Background to be an image that will be visible on desktop/ laptop view (full screen)
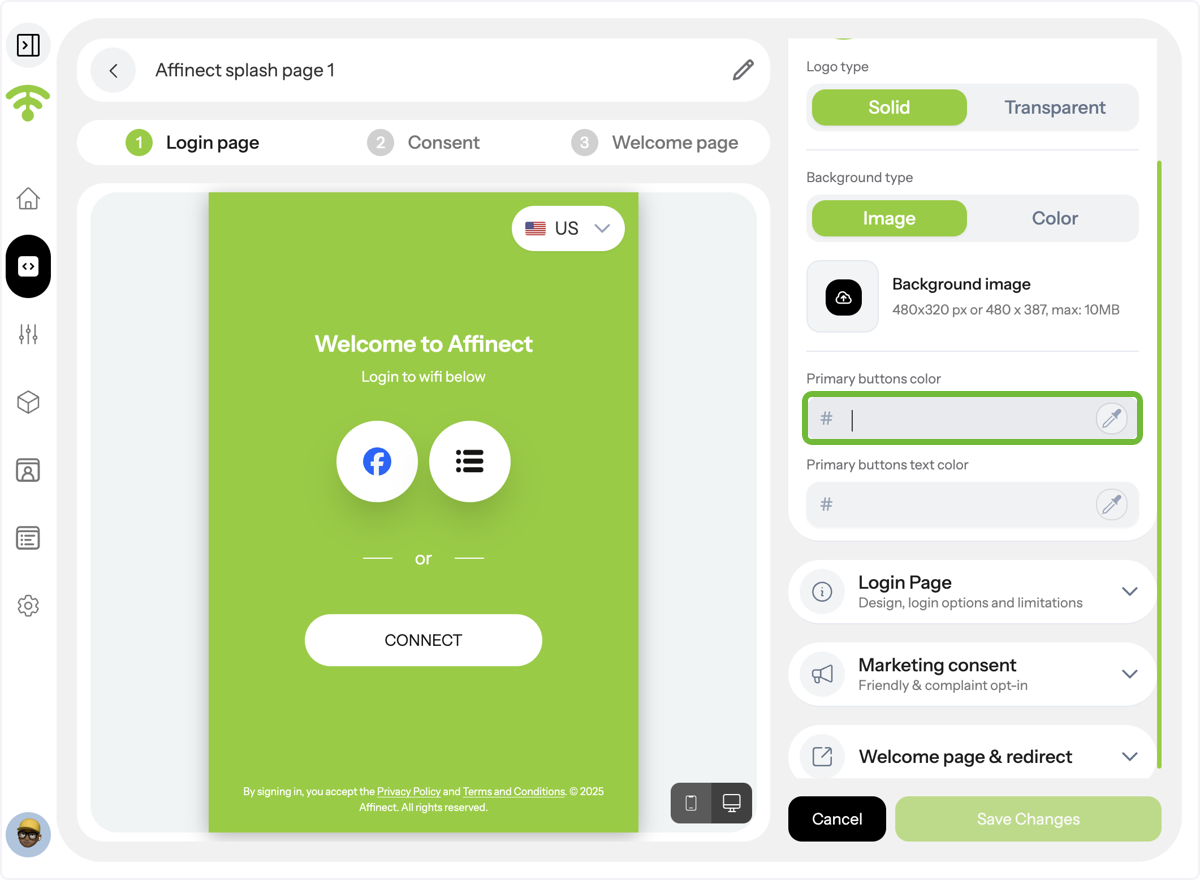
You can also customize the primary button color and the text color to match your brand identity and ensure visual consistency.
This setting will affect the consent screen buttons and welcome page buttons
Once you're done, do not forget to click 'Save Changes'. Tada! That's all. Happy Connecting and Customizing!